Crankshaft Condition Inspection
PROCEDURE
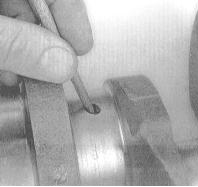
1. Using an oil stone, file or scraper, remove burrs from the edges of the oil holes.
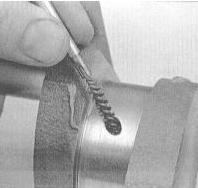
2. Wash the crankshaft with solvent, then dry thoroughly, using compressed air if possible. Be sure to clean the oil holes with a stiff brush. Then wash them with solvent.
Wear protective goggles when using compressed air!
3. Inspect the main and connecting rod journals of the crankshaft for scoring, pitting, cracks and signs of uneven wear.
4. Inspect the entire surface of the shaft for cracks and other damage. To detect hidden cracks, magnetic particle inspection is required; take the shaft to an automotive repair shop.
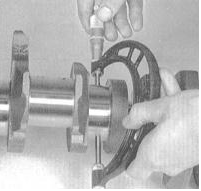
5. Using a micrometer, measure the diameters of the main and connecting rod journals. Measure the diameter of each journal at several points along its length and around its circumference to determine taper and out-of-round, which must not exceed the specified limits (refer to Specifications). Also check the crankshaft runout, which requires a pair of V-blocks and a dial test indicator (DTI). If the necessary equipment is not available, seek assistance from an automotive repair shop.
6. If wear, taper or out-of-round of the journals exceeds the permissible value, or if there is mechanical damage to the surfaces, the crankshaft must be machined undersize. After grinding the shaft, select new main and/or connecting rod bearings of the corresponding undersize.
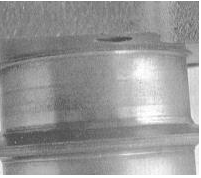
7. Check the condition of the seal contact surfaces on both ends of the crankshaft. Worn grooves, burrs or scoring will cause new seals to fail in the near future. In some cases the journals can be restored by grinding and pressing special thin-walled sleeves onto them. If such restoration is not possible, replace the shaft.
8. Check the condition of the main and connecting rod bearing shells (refer to Section Crankshaft Main and Connecting Rod Bearings Condition Inspection and Selection).
Test yourself
A quick Honda Accord quiz: every answer comes with an explanation and a link to the manual page.