Cylinder Head Disassembly
PROCEDURE
A new or remanufactured cylinder head can always be ordered from an automotive repair shop or the parts department of an authorized dealer service center. Because disassembling and inspecting the head requires certain special tools, the authors of this Manual consider it simpler and less expensive for the do-it-yourself mechanic to purchase a replacement head rather than undertaking the fairly complex repair of a worn head.
Immediately after removing the head, remove the oil spray nozzle(s) from the engine block, clean them and place them in a separate plastic bag.
1. Disassembling the cylinder head requires first removing the valve train (intake and exhaust valves with related components). It is assumed that the rocker arms and camshaft(s) have already been removed from the head.
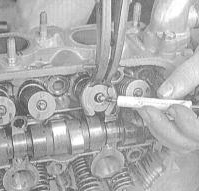
2. Using the special tool, compress the first valve spring and remove the split valve keepers from the groove in the valve stem. Carefully release the tool and remove the valve spring retainer, springs and spring seat (depending on equipment).
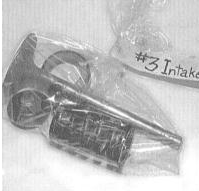
3. Place the removed valve train components in a clearly numbered, separate plastic bag.
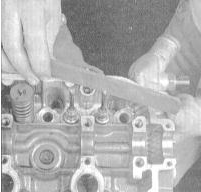
4. Next, remove the valve from the cylinder head and remove the valve stem seal from the valve guide. If the valve sticks in the valve guide, push it back into the head and carefully deburr the edges of the keeper groove with a fine oilstone or file.
5. Using the same procedure, remove the remaining valve assemblies. Place the components of each valve in a separate bag labeled accordingly; during assembly, each part must be installed exactly in its original location.
6. After all valve train components have been removed and stored in an organized manner, proceed with cleaning and inspecting the cylinder head (during a full engine overhaul, first complete disassembly of the engine).
Test yourself
A quick Honda Accord quiz: every answer comes with an explanation and a link to the manual page.