Cylinder Head Cover
GENERAL INFORMATION
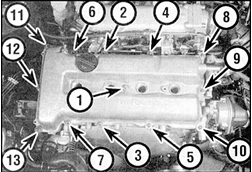
Cylinder head cover nut tightening sequence
Removal
PROCEDURE
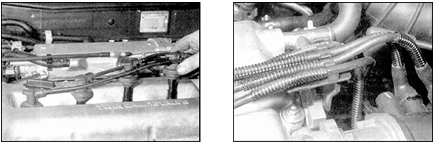
1. Disconnect the spark plug high-tension leads from the spark plugs and remove the leads from the clips on the cylinder head cover.

2. Loosen the clamps and disconnect the crankcase ventilation hose at the rear of the cylinder head cover.
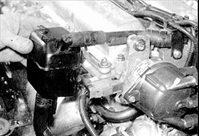
3. Loosen the clamps and disconnect the oil separator hose from the fitting on the cylinder head cover and the hose at the bottom of the oil separator.
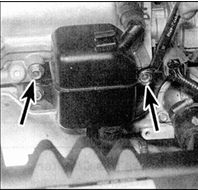
4. Remove the bolts (indicated by arrows) and remove the oil separator from the front of the cylinder head.
5. In the reverse order of the sequence shown in Fig. Cylinder head cover nut tightening sequence, loosen and remove the cylinder head cover nuts. Remove the nuts and washers.
6. Lift off the cover. Remove the gasket from the groove provided along the outer edge of the cover, and remove the O-ring seals from the spark plug holes and from the central stud hole of the cover.
7. Check the cover seals for damage. Replace the seals if necessary.
Installation
PROCEDURE
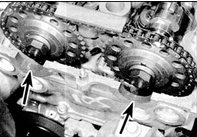
1. Thoroughly clean the sealing surfaces of the cover and cylinder head, removing all traces of oil. Apply drops of sealant to the semicircular recesses in the cylinder head (indicated by arrows).

2. Install the rubber gasket into the groove in the cover, making sure it is seated correctly along its entire length.

3. Install the spark plug O-rings and the central stud seal. If necessary, secure the seals by lightly coating them with a thin layer of sealant.
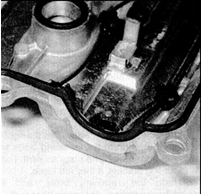
4. Apply drops of sealant to the gasket approximately 1 cm on both sides of the edges of the semicircular recess for the exhaust camshaft rear journal cap.
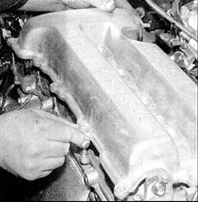
5. Carefully install the cylinder head cover in place. Make sure the rubber cover seals do not shift.
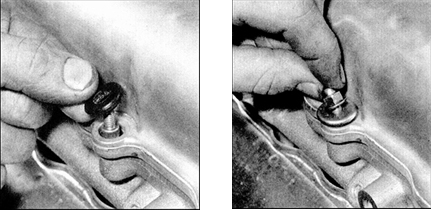
6. Make sure the cover is installed correctly, then install the rubber seals, washers and nuts onto the cover studs and tighten the nuts.
7. Seat the cover in place, then tighten the central nut (N 1) and the four corner nuts of the cover lightly in the following sequence: 10, 11, 13 and 8. Tighten the cover nuts in the specified sequence (refer to the cylinder head cover nut tightening sequence figure) to the specified torque, then loosen and remove the cylinder head cover nuts.
7. Connect the crankcase ventilation hoses to the cover and secure them with clamps.
8. Connect the hose to the bottom of the oil separator, install the oil separator in place and tighten the bolts securely. Install the oil separator hose onto the cover fitting and secure it with a clamp.
9. Connect the high-voltage leads to the spark plugs, keeping the original firing order, and insert the leads into the retaining brackets. Connect the battery negative terminal to ground.
Test yourself
A quick Nissan Sunny quiz: every answer comes with an explanation and a link to the manual page.