Timing Belt and Timing Drive Gears Removal
REMOVAL
PROCEDURE
1. Disconnect the negative battery cable.
If the vehicle is equipped with an audio system with an anti-theft code, make sure you have the correct code to activate the audio system before disconnecting the battery!
2. Place the transmission in Neutral (MT) or in "P" (AT), apply the parking brake and chock the rear wheels.
3. Remove the drive belts (refer to Maintenance and Tune-Up).
4. Remove the alternator and power steering pump (refer to Engine Electrical and Suspension and Steering, respectively).
5. To make it easier to turn the crankshaft, remove the spark plugs (refer to Maintenance and Tune-Up), then bring the No. 1 piston to TDC on the compression stroke (refer to Positioning the No. 1 Piston at Top Dead Center (TDC)).
6. Loosen the right front wheel nuts. Raise the front of the vehicle and support it on stands. Remove the right front wheel.
7. Remove the right front wheel arch splash shield (refer to Body).
8. Support the engine with a jack, placing a wooden block between the cylinder head and oil pan to distribute the load. Remove the splash shield under the radiator (refer to Cooling and Heating Systems).
9. Remove the two bolts securing the right engine mount bracket to the engine block (also remove the wiring harness bracket), then remove the through bolt and the mount (refer to Inspection and Replacement of Engine Mounts). Remove the mount bracket. Remove the engine oil dipstick and its guide tube.
10. Remove the upper timing belt covers.
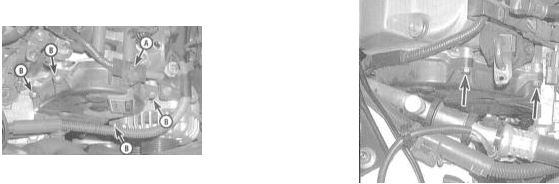

11. If the belt is not being replaced, mark its original direction of rotation. It must be installed in exactly the same direction.
12. Make sure the timing marks are correctly aligned.
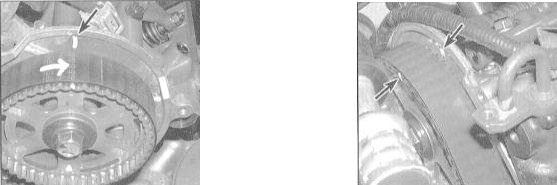

13. Lock the crankshaft from turning using a chain or strap wrench, then loosen the crankshaft pulley bolt. Remove the bolt and the pulley.
When loosening the pulley bolt, the timing marks on the pulley and camshaft sprockets may become misaligned. Check them. Temporarily reinstall the pulley bolt, then use a socket wrench to adjust the crankshaft position as necessary.
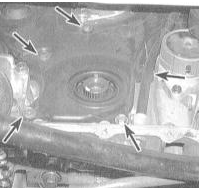
14. Remove the lower timing belt cover.
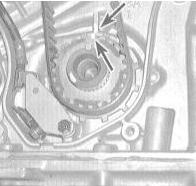
15. Remove the belt guide from the crankshaft sprocket (note its installed position). Make sure the timing marks on the sprocket are correctly aligned.
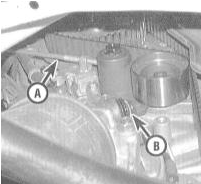
16. Remove one of the long battery hold-down bolts and file a small chamfer on the end of its threaded portion. Thread the bolt by hand into the boss on the engine block and press it against the timing belt tensioner adjuster. The bolt must lock the adjuster in place.

17. Loosen the idler roller bolt by six turns, then remove the timing belt.
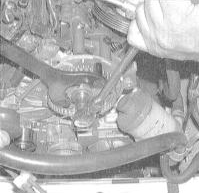
18. If necessary, the defective camshaft sprockets can now be removed. Camshaft sprocket removal is also required when replacing the front camshaft seals. Remove the camshaft keys so they are not lost if they fall out.
Try to prevent the camshafts from rotating!
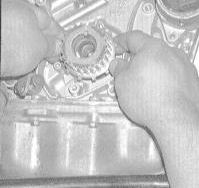
19. If the front crankshaft seal or its sprocket must be replaced, remove the sprocket from the crankshaft journal. If the sprocket cannot be removed by hand, pry it off using a pair of screwdrivers. Also remove the inner timing belt guide.
Test yourself
A quick Honda Accord quiz: every answer comes with an explanation and a link to the manual page.