Camshaft Installation
PROCEDURE
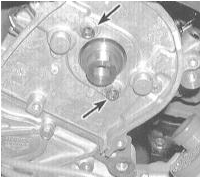
1. Remove the rear timing belt covers from both cylinder heads to gain access to the camshaft seals.
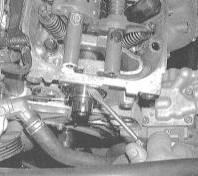
2. Camshaft seals must be replaced every time the cylinder head is disassembled or the camshafts are removed. Remove the old seals by prying them out with a special tool or a flat-blade screwdriver.
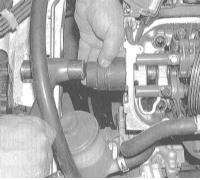
3. Lubricate the lip of the new seal with clean engine oil, then install it squarely into its bore to the same depth as the old seal. A socket of suitable size or a length of pipe of suitable diameter can be used as a installation tool.
4. Thoroughly clean the camshaft, its bearing journals in the cylinder head and caps, and the valve train rocker arms with a rag moistened with acetone. Remove all traces of sludge and dirt. Use only clean, lint-free rags to clean the components. Lubricate the journals and cam lobes with special assembly lube and carefully install the camshaft in its correct position in the cylinder head.
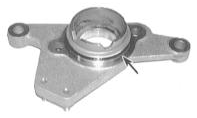
5. Lubricate and install a new O-ring on the camshaft holder plate. Tighten the plate bolts to their correct position on the cylinder head.
6. In the same manner (see steps 4 and 5), install the second camshaft in the cylinder head.
7. Reverse the removal procedure to install all remaining components. Check the valve clearances and adjust them if necessary (see Chapter Tune-Up and Routine Maintenance).
8. Start the engine and check for oil leaks at the camshaft seals. Let the engine run for about five minutes at idle to purge air from the valve lash adjusters. Make sure the unit operates properly.
For the first five minutes after initial startup, the valve train will operate noisily. If the noise does not decrease afterward, this may indicate a faulty valve lash adjuster.
Test yourself
A quick Honda Accord quiz: every answer comes with an explanation and a link to the manual page.