Valve Clearance Inspection and Adjustment
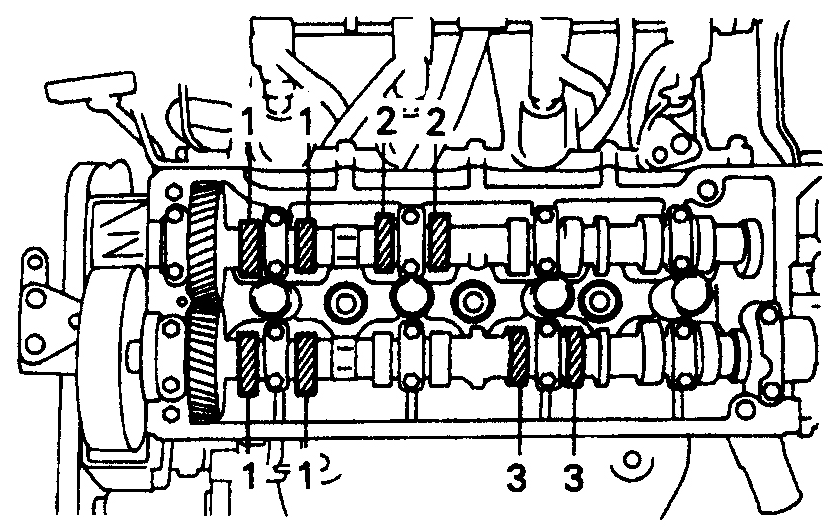
No. 1 Cylinder at TDC/Compression When the No. 1 cylinder is at TDC/compression,
the exhaust valves of the No. 1 and No. 3 cylinders
and the intake valves of the No. 1 and No. 2 cylinders can be inspected
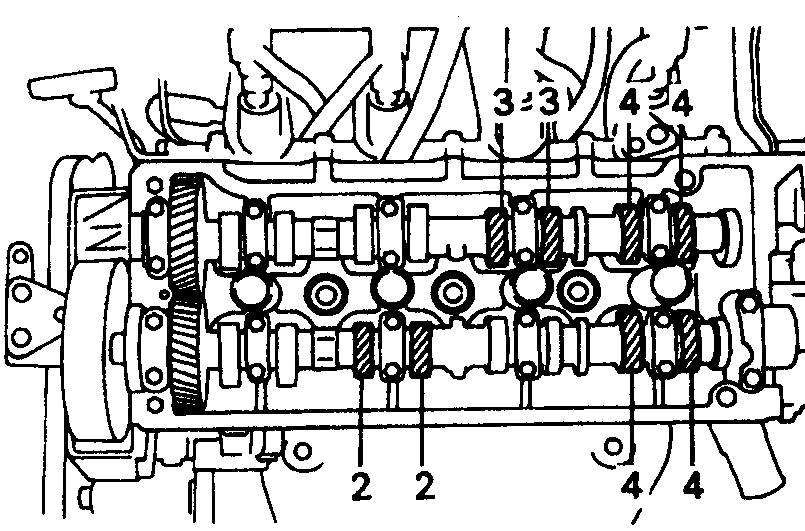
No. 4 Cylinder at TDC/Compression When the No. 4 cylinder is at TDC/compression,
the exhaust valves of the No. 2 and No. 4 cylinders
and the intake valves of the No. 3 and No. 4 cylinders can be inspected
* A special tappet depressing tool is required to adjust the valve clearances.
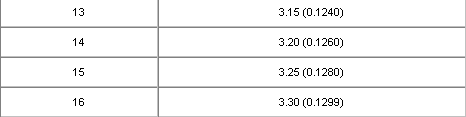
Thickness and Part Number of Available Service Shims

PROCEDURE
1. Disconnect the battery negative terminal.
2. Disconnect the high-tension leads (see Sub-section 2.8.3) and gain access to the cylinder head cover by removing all necessary parts.
3. Blow compressed air around the spark plugs to remove all dirt that could enter the cylinder. Remove the spark plugs (see Sub-section 2.8.2).
4. Remove the cylinder head cover (see Sub-section 3.1.1.3).
5. Set the No. 1 cylinder to TDC/compression (see Sub-section 3.1.1.2).
6. When the No. 1 cylinder is at TDC/compression, the exhaust valves of the No. 1 and No. 3 cylinders and the intake valves of the No. 1 and No. 2 cylinders can be inspected (see illustration No. 1 Cylinder at TDC/Compression).
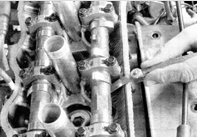
7. Measure the valve clearances with a feeler gauge. The feeler gauge should pass with slight resistance when the clearance is normal. Record the clearances that are out of specification. These values will later be used to calculate the shim thickness.
8. Rotate the crankshaft one full turn and align the timing marks. Measure the clearances of the remaining valves. When the No. 4 cylinder is at TDC/compression, the exhaust valves of the No. 2 and No. 4 cylinders and the intake valves of the No. 3 and No. 4 cylinders can be inspected (see illustration No. 4 Cylinder at TDC/Compression).
9. After measuring the clearances, rotate the crankshaft so that the camshaft lobe of the first valve whose clearance will be adjusted points straight up, away from the tappet.

10. Rotate the tappet so that the recess faces the spark plug. Then, using the pliers and lever of the tool, depress the tappet. Install the pliers as shown in the illustration: the longer jaw of the pliers must engage the lower part of the camshaft lobe, and the shorter jaw engages the upper, pushing part of the camshaft lobe. Depress the tappet by squeezing the pliers handles, then wedge the lever of the tool against the tappet to hold it depressed, and remove the pliers.
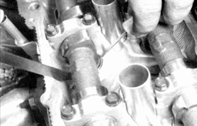
11. Using a small screwdriver or tweezers, remove the tappet shim. Note that the tool kit includes a wire hook-retainer that is attached to the pliers handles and allows the tappet to be held in the depressed position while the shim is removed.
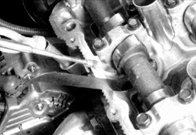
12. Remove the shim with tweezers or a magnet.
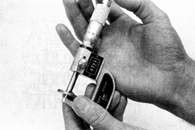
13. Measure the thickness of the removed shim with a micrometer. Then use the formulas below to determine the shim thickness that will bring the valve clearance within specification:
N = T + (A - V)
T – thickness of the removed shim
A – measured clearance
N – thickness of the new shim
V – required clearance between the valve and tappet (see Sub-section 2.1)
14. Select a shim so that the thickness of the shim to be installed is as close as possible to the calculated value. The manufacturer supplies shims in 17 size groups, with thicknesses from 2.5 mm to 3.3 mm in 0.05 mm steps (see table Thickness and Part Number of Available Service Shims).
* The number of shims to purchase can be reduced by carefully measuring the thickness of each shim and simply swapping them. A shim from a valve whose clearance is out of specification may fit the tappet of another valve.
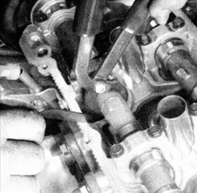
15. Install the pliers of the tool as shown in the illustration, so that the longer jaw engages the lower part of the camshaft lobe and the shorter jaw engages the upper, pushing part of the camshaft lobe. Depress the tappet by squeezing the pliers handles and install the new shim (note that the shim can be installed by hanging the hook from the tool kit on the pliers handles). Check the valve-to-tappet clearance to confirm the shim selection is correct.
16. Repeat the procedure for the remaining valves whose clearances were out of specification.
17. Install all removed parts (spark plugs, high-tension leads, terminals, etc.) in the reverse order of removal.
Test yourself
A quick Toyota Corolla quiz: every answer comes with an explanation and a link to the manual page.