Spark Plug Inspection and Replacement
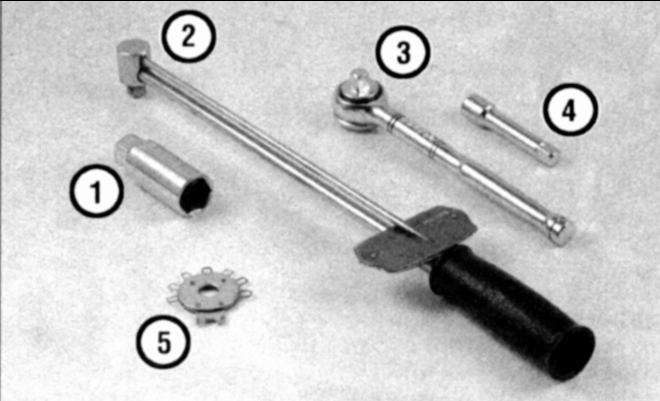
Spark Plug Replacement Tool Kit
1. Spark plug socket with rubber insert to protect the porcelain insulator
2. Torque wrench. Used for tightening spark plugs (although its use is optional)
3. Ratchet handle. Used for threading in and tightening the spark plug
4. Adapter. Used for assembling the connection and for unscrewing spark plugs in engines of different types.
Depending on the vehicle and available tools, various types of adapters are used (including an extension with a universal joint)
5. Gap gauge set. Used for checking the spark plug electrode gap; available in various designs. Make sure the set includes a gauge suitable for your vehicle's spark plug.
A spark plug socket with a ratchet is required to replace the spark plugs. The spark plug socket has a rubber insert to protect the porcelain insulator of the spark plug and to hold the spark plug when installing it into the cylinder head. A round wire gauge is also required to check and adjust the spark plug electrode gap, and a torque wrench to tighten the spark plugs (see Figure: Spark Plug Replacement Tool Kit).
Feeler gauge set. Used to check the spark plug electrode gap. Available in various designs. Make sure the set includes a gauge suitable for your vehicle's spark plugs.
When replacing spark plugs, purchase new spark plugs, set the gap, and install them in place of the old ones, replacing one spark plug at a time.
* When purchasing new spark plugs, make sure their type matches your vehicle. The spark plug type is specified in the "General Specifications" section, on the VECI label (the emission information label located on the underside of the hood, which also lists emission standards for your vehicle), and in the vehicle owner's manual. If the data from these sources differ, follow the data on the VECI label, since the spark plug type specified on the label corresponds to your vehicle's engine type.
PROCEDURE
1. Check the condition of the new spark plugs. If any signs of damage to the spark plug insulator are found, do not install them.

2. Check the electrode gap of the new spark plugs. Use a round wire gauge for this. The gauge should move between the electrodes with slight resistance; otherwise, the gap must be adjusted.
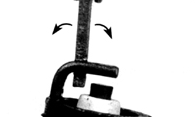
3. The electrode gap must match the value specified in subsection 2.1 or on the VECI label on the underside of the hood. If the gap does not meet the specification, bend the side electrode using the lever on the feeler gauge set body, taking care not to damage the porcelain insulator around the center electrode.
4. If the side electrode is not aligned with the center electrode, bend it using the lever on the feeler gauge set body until both electrodes are centered over the spark plug.
* When adjusting the gap, bend only the side electrode.
Removal
PROCEDURE

1. To avoid mixing up the spark plug wires, replace each spark plug one at a time. Disconnect the spark plug wire and boot from the spark plug by grasping the boot, not the wire. Twist the boot half a turn while pulling upward, and remove the wire.
2. If compressed air is available, blow out the area around the spark plug to remove dirt (a bicycle pump can also be used).

3. Remove the spark plug. Unscrew the spark plug using a spark plug socket with an extension.
4. Whether the spark plug is being replaced or the old one is being reinstalled, check the spark plug condition using the spark plug reading chart and determine the overall condition of the engine.
Installation
PROCEDURE
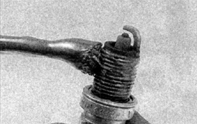
1. Before installing the spark plug, it is recommended to apply anti-seize compound to the threads. It is typically difficult to install a spark plug without cross-threading.
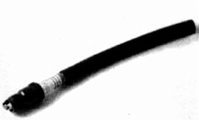
2. To prevent cross-threading, place a section of hose with an inside diameter of 3/8 in (9.5 mm) over the spark plug. Manipulating the flexible hose makes it easier to install the spark plug correctly. If the spark plug begins to cross-thread, the hose will slip on the insulator, which prevents thread damage. Tighten the spark plug to the specified torque (see subsection 2.1).
3. Install the spark plug boot by turning it half a turn while pressing it downward until it seats fully on the spark plug electrode.
4. Replace the remaining spark plugs by repeating the procedure described above.
Test yourself
A quick Toyota Corolla quiz: every answer comes with an explanation and a link to the manual page.