Removal and Installation of Door Latch and Outside Handle/Lock Cylinder
Wear gloves to protect your hands from cuts when working through the access holes in the door frame.
Door Latch Assembly
PROCEDURE
1. Raise the window glass, then remove the interior door trim panel and water shield (refer to Removal and Installation of Door Trim Panels).
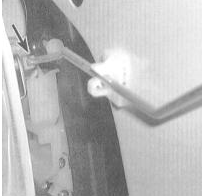
2. Through the large opening in the door frame, disconnect the rod connecting the outside handle to the latch. Do the same with the inside handle rod, as well as the outside and inside lock rods and (if equipped) the solenoid actuator.
3. All rods are secured by plastic clips. Release the part of the clip engaged with the rod, then pull the rod out of its seat. On models with a central locking system, disconnect the related wiring from the latch assembly.
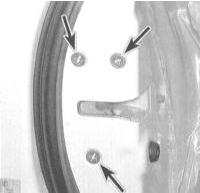
4. Remove the screws securing the latch to the door. Remove the latch assembly through the opening in the door frame.
5. Installation is performed in the reverse order.
Outside Handle and Door Lock Cylinder
PROCEDURE
1. Close the window and remove the interior door trim panel and water shield (refer to Removal and Installation of Door Trim Panels).
To avoid damaging the door panel paint, apply masking tape to the window area where the door handle seats.
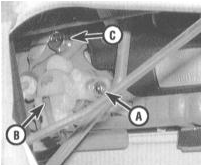
2. Through the special opening in the door frame, release the plastic clips securing the outside handle and door lock actuator rods.
3. Remove the caps, then unscrew the outside handle mounting bolts.

4. Remove the handle assembly with the lock cylinder. If necessary, the cylinder can be removed from the assembly by releasing the retainer. On vehicles so equipped, disconnect the wiring connector by removing the mounting bolt.
5. Installation is the reverse of removal.
Test yourself
A quick Honda Accord quiz: every answer comes with an explanation and a link to the manual page.