Center Console Removal and Installation
The vehicles covered by this Manual are equipped with a Supplemental Restraint System (SRS). Before performing any work near the airbag module, steering column or instrument panel, disconnect the SRS to avoid injury from accidental deployment (see Section Body Electrical System). SRS circuit wiring can be easily identified by its yellow insulation.
PROCEDURE
1. Disconnect the negative battery cable.
If the vehicle is equipped with an anti-theft audio system, make sure you have the correct code to activate the audio system before disconnecting the battery!
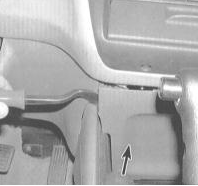
2. Using a screwdriver, pry off the front cover of the center console.
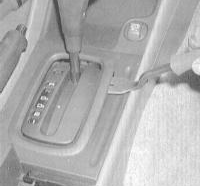
3. Using a pry bar, remove the AT shift lever trim panel. On manual transmission models, remove the shift lever knob (see Section Manual Transmission).
4. Pry the cup holder assembly out of the console.
Pry the assembly only at the front edge and do not pull it out of the console by the cover.
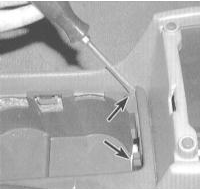
5. Carefully pry off the AT shift lever position indicator trim panel from the console.

6. Remove the center armrest and remove the bottom panel of the console storage box.
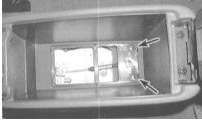
7. Unscrew the screws securing the console to the vehicle floor.

8. Remove the front mounting screws and remove the center console assembly from the shift lever. Disconnect the wiring and remove the console from the vehicle.
9. Installation is the reverse of removal.
Test yourself
A quick Honda Accord quiz: every answer comes with an explanation and a link to the manual page.