Headlight Ecu
Components
COMPONENTS
ILLUSTRATION
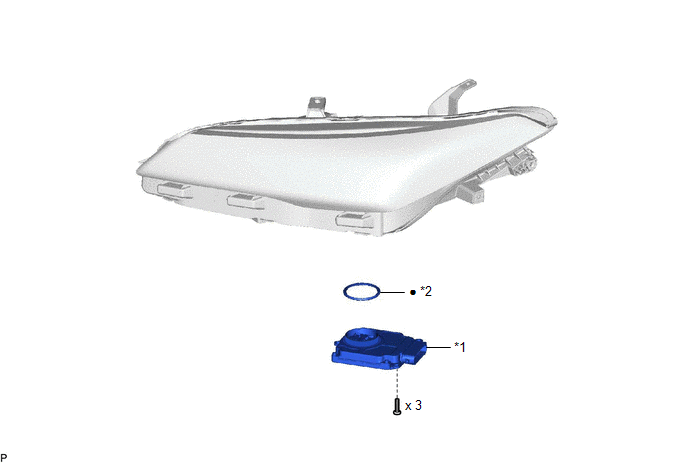
*1 |
HEADLIGHT ECU SUB-ASSEMBLY |
*2 |
HEADLIGHT GASKET |
● |
Non-reusable part |
- |
- |
Installation
INSTALLATION
HINT:
- Use the same procedure for the RH side and LH side.
- The following procedure is for the LH side.
PROCEDURE
1. INSTALL HEADLIGHT GASKET
(a) Install a new headlight gasket.
2. INSTALL HEADLIGHT ECU SUB-ASSEMBLY
NOTICE:
If the headlight ECU sub-assembly has been struck or dropped, replace it with a new one.
(a) Connect the 2 connectors.
(b) Install the connector cover to the headlight ECU sub-assembly.
(c) Install the headlight ECU sub-assembly with the 3 screws.
3. INSTALL HEADLIGHT ASSEMBLY
Click here 
Removal
REMOVAL
The necessary procedures (adjustment, calibration, initialization or registration) that must be performed after parts are removed and installed, or replaced during headlight ECU sub-assembly removal/installation are shown below.
Necessary Procedure After Parts Removed/Installed/Replaced (for Gasoline Model)Replaced Part or Performed Procedure | Necessary Procedure | Effect/Inoperative Function When Necessary Procedures are not Performed | Link |
|---|---|---|---|
Front bumper assembly |
|
|
 |
Front television camera view adjustment |
Panoramic View Monitor System |
|
|
|
Synchronize the vehicle information |
Lighting system (for Gasoline Model with Cornering Light) |
|
Replaced Part or Performed Procedure | Necessary Procedure | Effect/Inoperative Function When Necessary Procedures are not Performed | Link |
|---|---|---|---|
Front bumper assembly |
|
|
|
Front television camera view adjustment |
Panoramic View Monitor System |
|
|
|
Synchronize the vehicle information |
Lighting system (for HV Model with Cornering Light) |
|
HINT:
- Use the same procedure for the RH side and LH side.
- The following procedure is for the LH side.
PROCEDURE
1. REMOVE HEADLIGHT ASSEMBLY
Click here
2. REMOVE HEADLIGHT ECU SUB-ASSEMBLY
NOTICE:
- Make sure to replace the headlight gasket with a new one. Failure to do so may cause water ingress.
- If the headlight ECU sub-assembly has been struck or dropped, replace it with a new one.
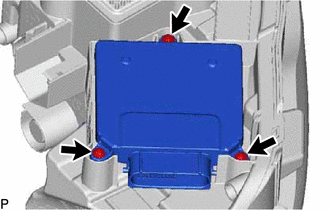
(a) Using a T25 "TORX" socket wrench, remove the 3 screws. |
 |
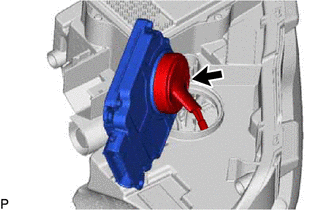
(b) Separate the connector cover from the headlight ECU sub-assembly. |
 |
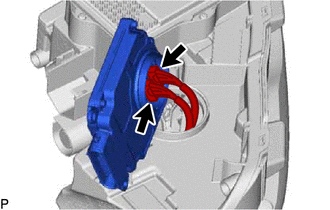
(c) Disconnect the 2 connectors to remove the headlight ECU sub-assembly. |
 |
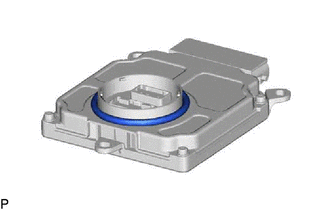
3. REMOVE HEADLIGHT GASKET
NOTICE:
Make sure to replace the headlight gasket with a new one. Failure to do so may cause water ingress.
(a) Remove the headlight gasket. |
 |