Removing switches
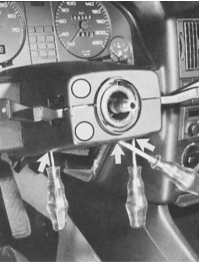
Loosen the three Phillips-head screws (arrows). Remove cover (1), detach trim with lever switch (2).

Trim and lever switch (1) removed, multi-pin connectors (2 and 4) disconnected. Now only the single-pin connection (3) needs to be disconnected.
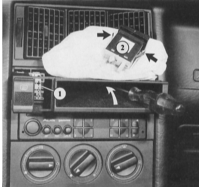
Rocker switches are retained by spring clips (arrows). For removal, pull out the shelf (white arrow) and disconnect the connector (1).
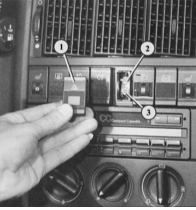
To replace the illumination bulbs (3) and symbol bulb (2), remove the rocker switch (1).
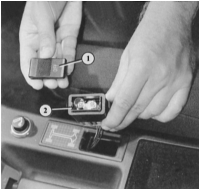
On all-wheel-drive vehicles, another rocker switch (2) for the rear axle differential lock is located in the center console. Like the other switches, it is simply inserted. To replace the bulb, pry off and remove the switch button (1).
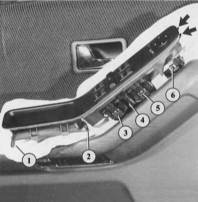
Models with 4- and 5-cylinder engines: the illustration shows the switch panel removed:
1 and 2 – retaining partitions for screw connections;
3 and 5 – power window switches;
4 – central switch;
6 – electric outside rearview mirror adjustment switch. The arrows indicate the retaining lugs by which the front edge of the component is held in the door trim.
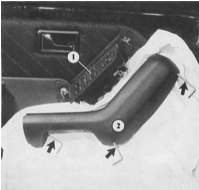
Models with 6-cylinder engines: to remove the switch panel (1), detach the left armrest (2) from the trim. To do this, unscrew three Allen-head screws in the lower part of the armrest. The illustration shows the Allen keys (arrows) positioned on the screws.
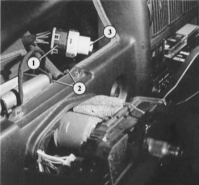
With the instrument cluster removed, both headless screws (2) securing the ignition switch (3) are visible. The illustration shows the switch removed together with the connected plug (1).
Test yourself
A quick Audi 80 quiz: every answer comes with an explanation and a link to the manual page.