Electrical Key Oscillator(for Rear Floor)
Components
COMPONENTS
ILLUSTRATION
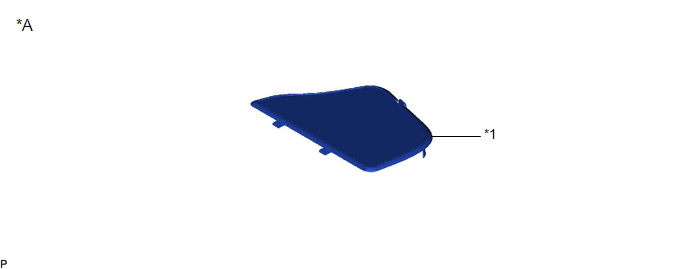
*A |
for HV Model |
- |
- |
*1 |
LUGGAGE TRIM SERVICE HOLE COVER |
- |
- |
ILLUSTRATION
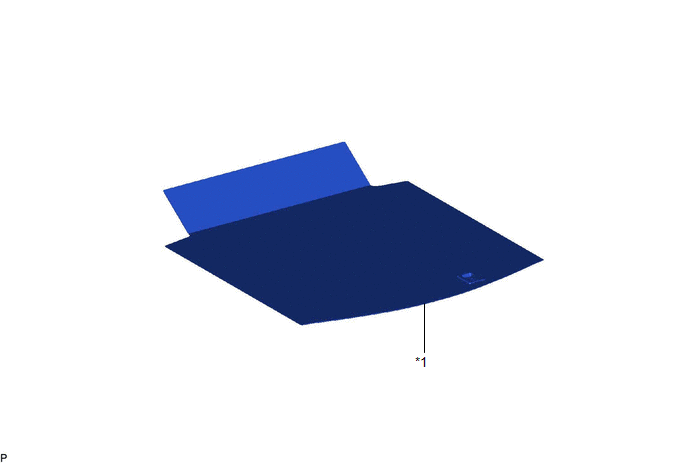
*1 |
SPARE WHEEL COVER ASSEMBLY |
- |
- |
ILLUSTRATION
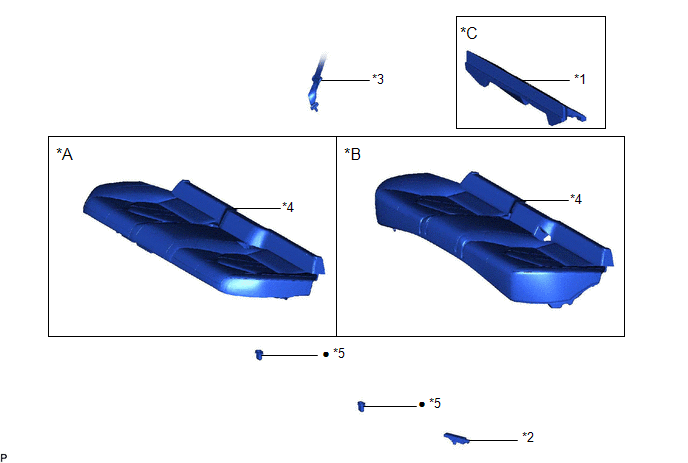
*A |
for HV Model |
*B |
for Gasoline Model |
*C |
w/ Seat Heater System |
- |
- |
*1 |
LUGGAGE COMPARTMENT INNER TRIM PAD |
*2 |
NO. 1 INDOOR ELECTRICAL KEY ANTENNA ASSEMBLY |
*3 |
REAR CENTER SEAT OUTER BELT ASSEMBLY |
*4 |
REAR SEAT CUSHION ASSEMBLY |
*5 |
REAR SEAT CUSHION LOCK HOOK |
- |
- |
● |
Non-reusable part |
- |
- |
Installation
INSTALLATION
PROCEDURE
1. INSTALL NO. 1 INDOOR ELECTRICAL KEY ANTENNA ASSEMBLY
(a) Engage the clamp to install the No. 1 indoor electrical key antenna assembly.
NOTICE:
Be careful when installing the No. 1 indoor electrical key antenna assembly. If the No. 1 indoor electrical key antenna assembly is dropped, replace it with a new one.
(b) Connect the connector.
2. INSTALL REAR SEAT CUSHION LOCK HOOK
Click here 
3. INSTALL REAR SEAT CUSHION ASSEMBLY
Click here
4. CONNECT REAR CENTER SEAT OUTER BELT ASSEMBLY
Click here
5. INSTALL LUGGAGE COMPARTMENT INNER TRIM PAD (w/ Seat Heater System)
Click here
6. INSTALL SPARE WHEEL COVER ASSEMBLY (w/ Seat Heater System)
Click here
7. CONNECT CABLE TO NEGATIVE AUXILIARY BATTERY TERMINAL
for A25A-FXS:
Click here
for 2GR-FKS:
Click here
8. INSTALL LUGGAGE TRIM SERVICE HOLE COVER (for HV Model)
Click here
9. PERFORM DIAGNOSTIC SYSTEM CHECK
for Gasoline Model:
Click here
for HV Model:
Click here
Removal
REMOVAL
The necessary procedures (adjustment, calibration, initialization or registration) that must be performed after parts are removed and installed, or replaced during No. 1 indoor electrical key antenna assembly removal/installation are shown below.
Necessary Procedure After Parts Removed/Installed/Replaced (for Gasoline Model)Replaced Part or Performed Procedure | Necessary Procedure | Effect/Inoperative Function When Necessary Procedures are not Performed | Link |
|---|---|---|---|
| *: When performing learning using the Techstream. Click here |
|||
Disconnect cable from negative battery terminal |
Perform steering sensor zero point calibration |
Lane departure alert system (w/ Steering Control) |
 |
Pre-collision system |
|||
Intelligent clearance sonar system* |
|||
Lighting system (for Gasoline Model with Cornering Light) |
|||
Memorize steering angle neutral point |
Parking assist monitor system |
|
|
Panoramic view monitor system |
|
||
Replaced Part or Performed Procedure | Necessary Procedure | Effect/Inoperative Function When Necessary Procedures are not Performed | Link |
|---|---|---|---|
| *: When performing learning using the Techstream. Click here |
|||
Disconnect cable from negative auxiliary battery terminal |
Perform steering sensor zero point calibration |
Lane departure alert system (w/ Steering Control) |
|
Pre-collision system |
|||
Intelligent clearance sonar system* |
|||
Lighting system (for HV Model with Cornering Light) |
|||
Memorize steering angle neutral point |
Parking assist monitor system |
|
|
Panoramic view monitor system |
|
||
CAUTION:
Some of these service operations affect the SRS airbag system. Read the precautionary notices concerning the SRS airbag system before servicing.
for Gasoline Model:
Click here
for HV Model:
Click here
PROCEDURE
1. PRECAUTION
NOTICE:
After turning the engine switch (for Gasoline Model) or power switch (for HV Model) off, waiting time may be required before disconnecting the cable from the negative (-) auxiliary battery terminal. Therefore, make sure to read the disconnecting the cable from the negative (-) auxiliary battery terminal notices before proceeding with work.
Click here
2. REMOVE LUGGAGE TRIM SERVICE HOLE COVER (for HV Model)
Click here
3. DISCONNECT CABLE FROM NEGATIVE AUXILIARY BATTERY TERMINAL
for A25A-FXS:
Click here
for 2GR-FKS:
Click here
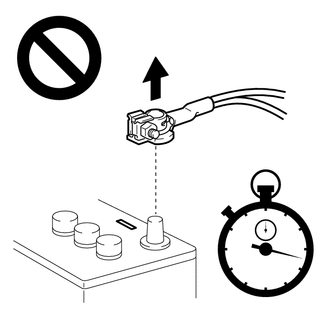
CAUTION:
- Wait at least 90 seconds after disconnecting the cable from the negative (-) auxiliary battery terminal to disable the SRS system.
- If an airbag deploys for any reason, it may cause a serious injury.
4. REMOVE SPARE WHEEL COVER ASSEMBLY (w/ Seat Heater System)
Click here
5. REMOVE LUGGAGE COMPARTMENT INNER TRIM PAD (w/ Seat Heater System)
Click here
6. DISCONNECT REAR CENTER SEAT OUTER BELT ASSEMBLY
Click here
7. REMOVE REAR SEAT CUSHION ASSEMBLY
Click here
8. REMOVE REAR SEAT CUSHION LOCK HOOK
Click here
9. REMOVE NO. 1 INDOOR ELECTRICAL KEY ANTENNA ASSEMBLY
(a) Disconnect the connector. |
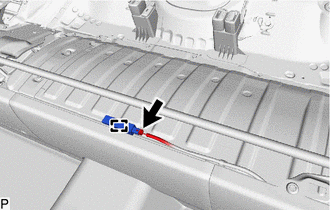 |
(b) Disengage the clamp to remove the No. 1 indoor electrical key antenna assembly.
NOTICE:
Be careful when removing the No. 1 indoor electrical key antenna assembly. If the No. 1 indoor electrical key antenna assembly is dropped, replace it with a new one.