Air Filter
Removal
PROCEDURE
Models with 1.6 liter engine1. Release the retaining clips and remove the air cleaner housing cover together with the seal.
2. Remove the air filter element, noting how it was installed.
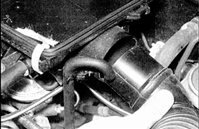
3. Disconnect the intake pipe on the left side of the air cleaner housing.

4. Loosen the clamp (arrow) securing the air cleaner housing to the throttle body.
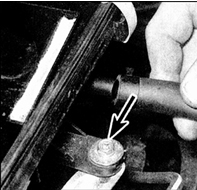
5. Disconnect all air hoses from the air cleaner housing, noting or marking their installed positions, then remove the mounting bolt (indicated by arrow).
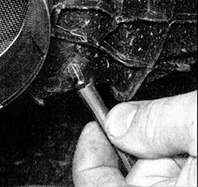
6. Loosen the clamp and remove the cover from the top of the throttle body housing. Disconnect all vacuum hoses from the air cleaner cover, noting or marking their installation positions.

7. Remove the O-ring from the top of the throttle body and place it together with the air cleaner cover.
8. If necessary, remove the two mounting bolts, then disconnect the air intake duct from the top of the resonator and remove it from the engine compartment. The resonator can then be removed.
Models with 2.0 liter engine
9. Loosen the clamp and remove the air intake duct from the air flow sensor.
10. Disconnect the air flow sensor connector, then release the retaining clips and remove the cover from the air cleaner housing.
11. Remove the air filter element, noting how it was installed.
12. Disconnect the air intake duct from the air cleaner housing, then remove the housing mounting bolts and remove the housing from the engine compartment.
13. After removing the housing, the various hoses and resonators can be removed after their mounting bolts are removed and the hoses are disconnected.
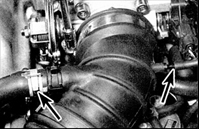
14. Disconnect the hoses (indicated by arrows) and loosen the air duct clamps.
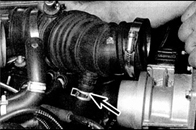
15. Remove the air duct and disconnect its lower air hose.
Installation
PROCEDURE
Installation is the reverse of removal. Make sure all air ducts and hoses are correctly connected and securely fastened with clamps.Test yourself
A quick Nissan Sunny quiz: every answer comes with an explanation and a link to the manual page.