A/c Unit Assembly
Exploded View
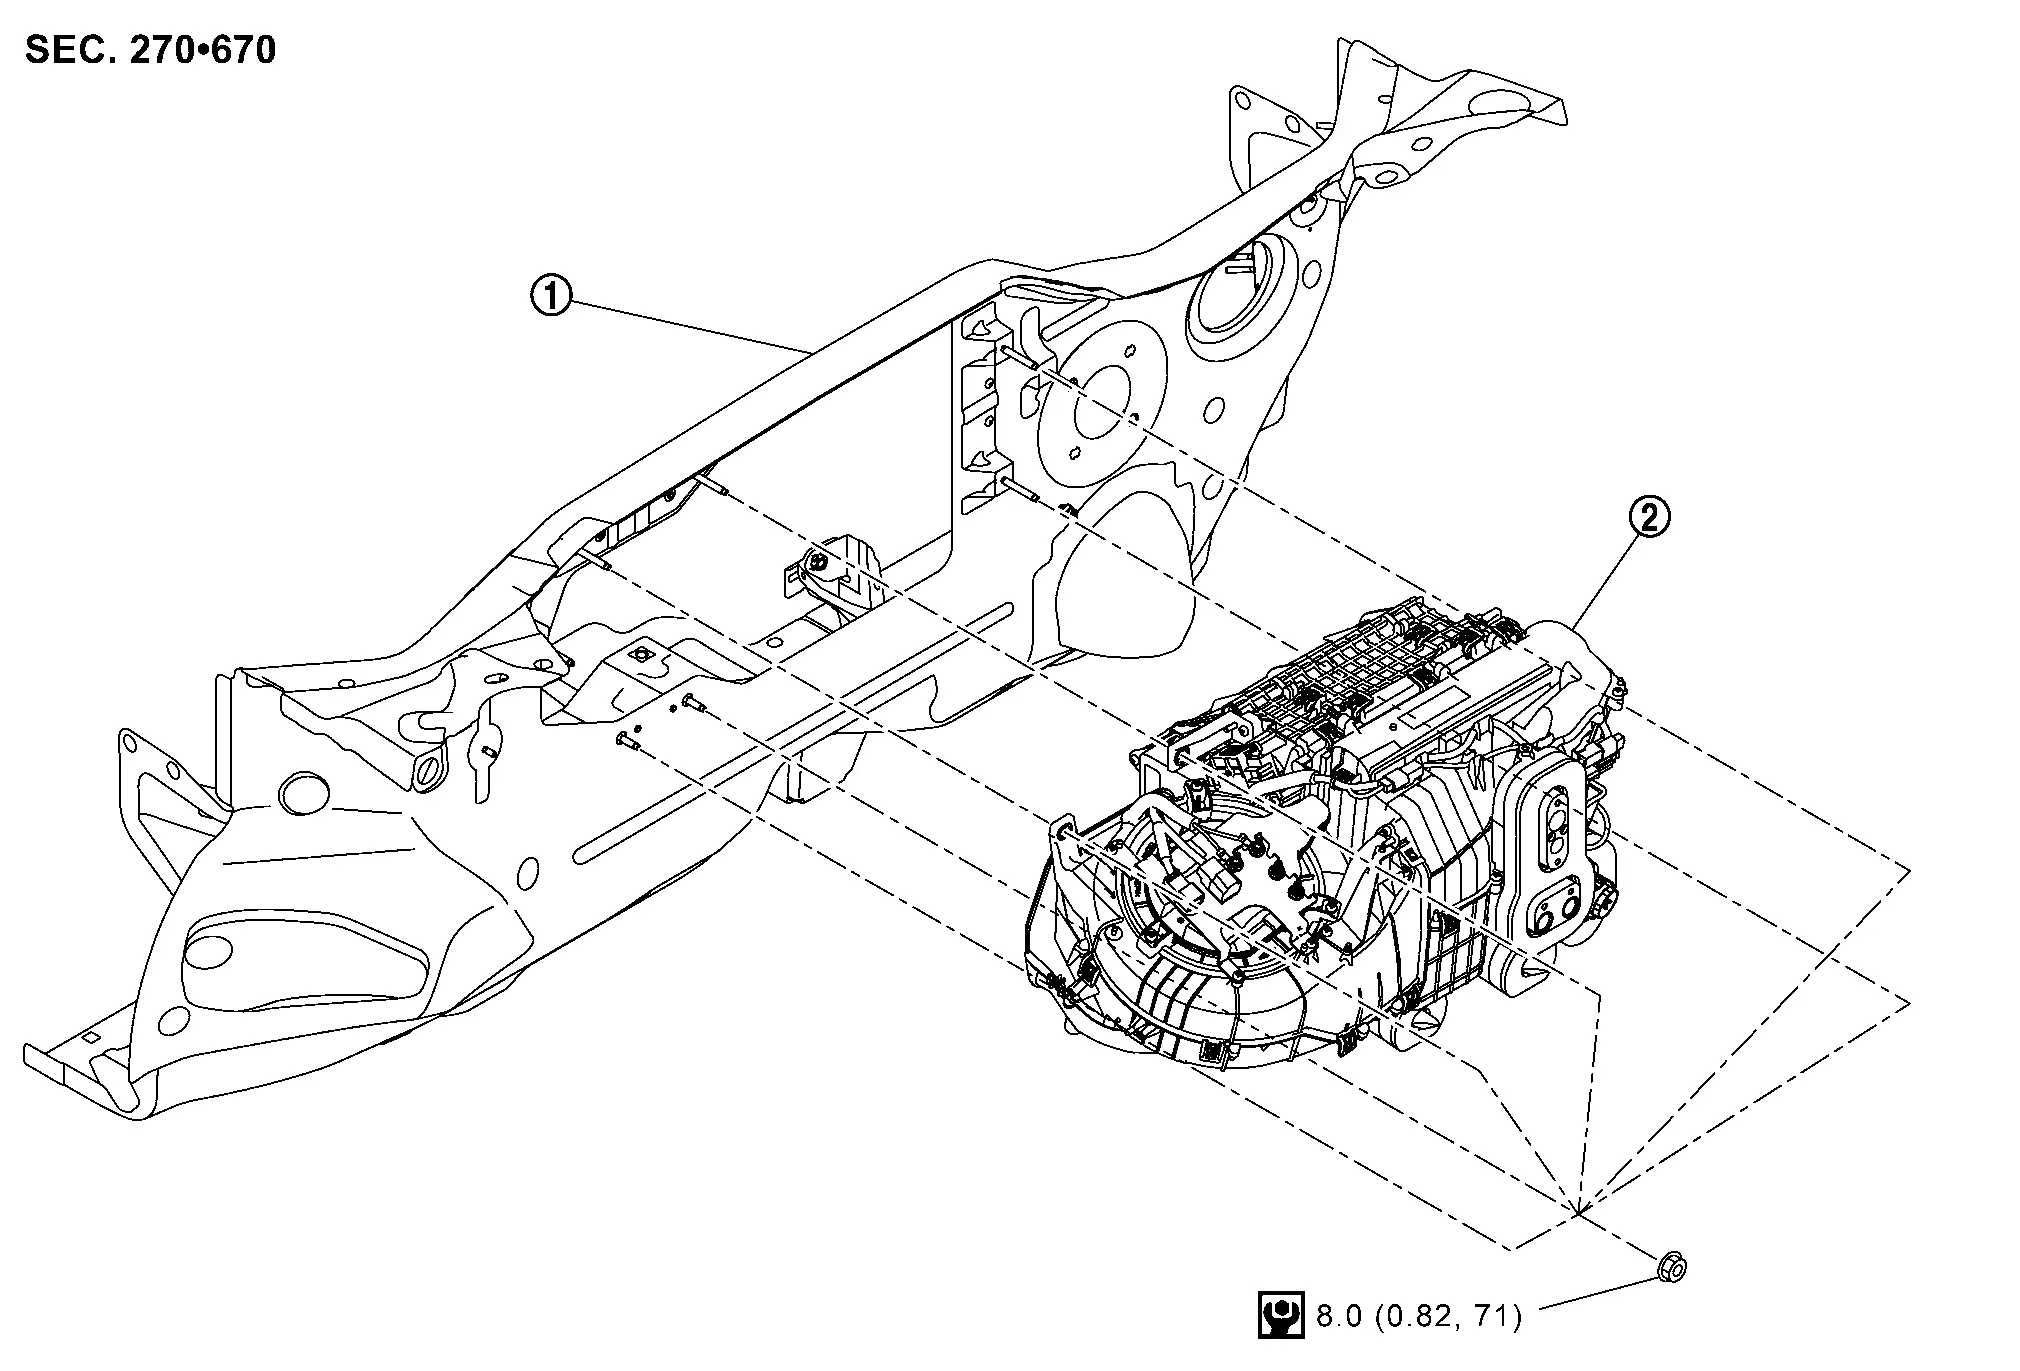
 |
Lower dash assembly |  |
A/C unit assembly | ||
 |
: N•m (kg-m, in-lb) | ||||
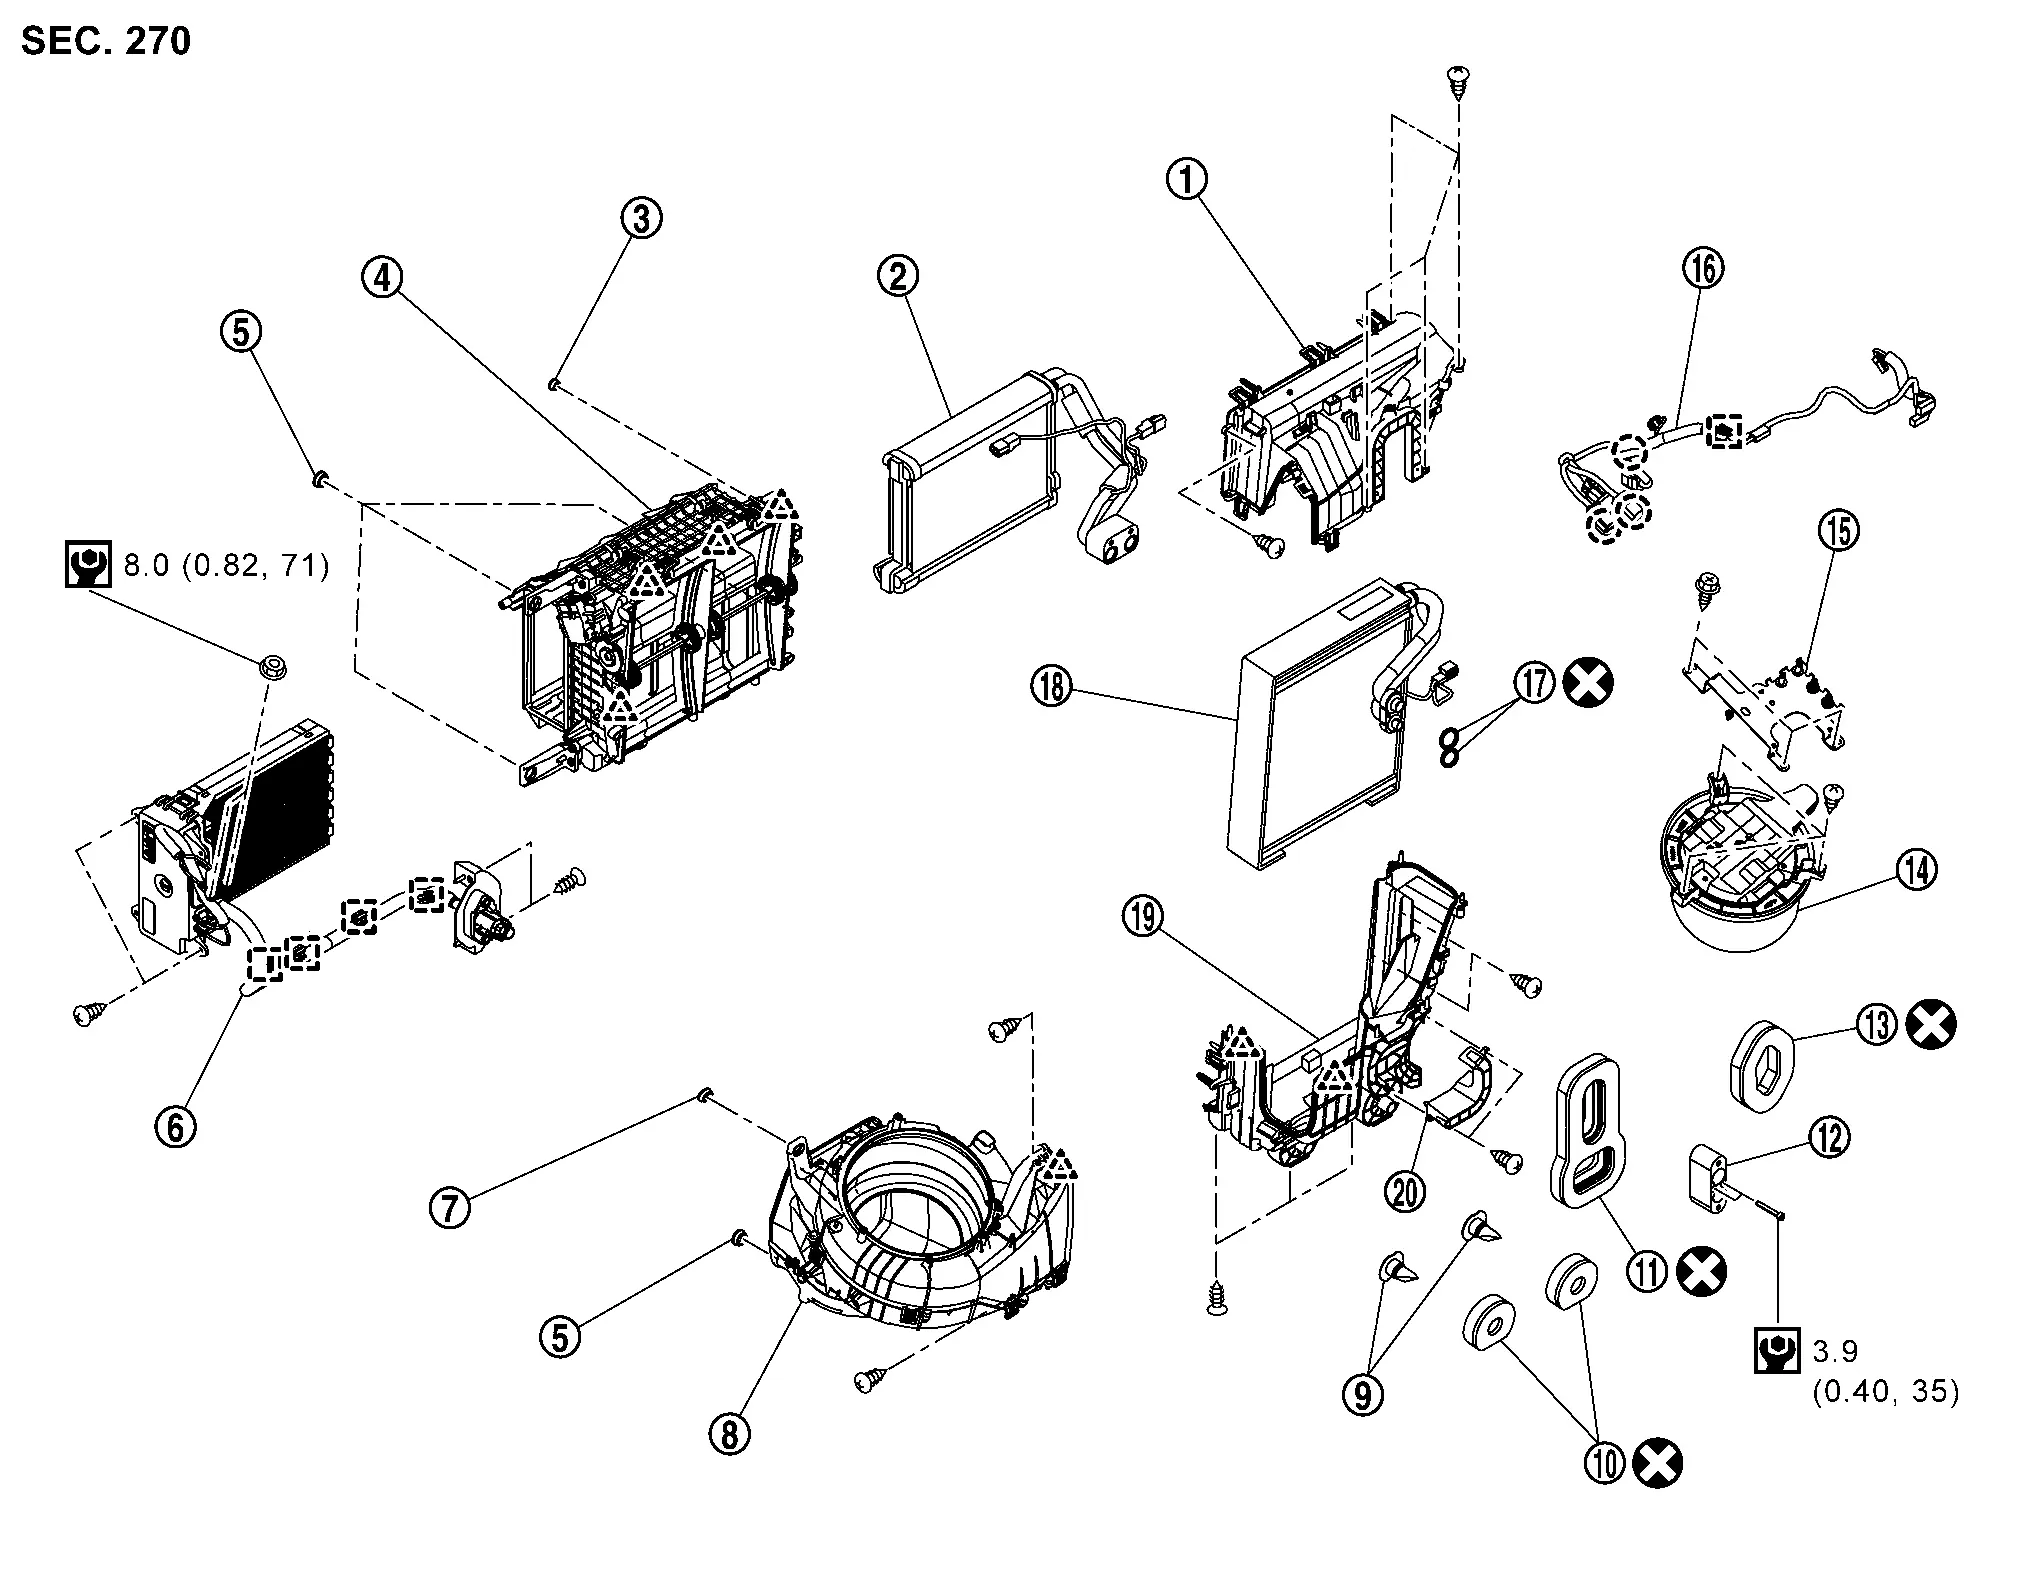
|
Front case upper | |
Inner condenser |  |
Collar 1 |
 |
Rear case |  |
Collar 2 |  |
PTC heater |
 |
Collar 3 |  |
Blower case |  |
Drain hose |
 |
Drain seal |  |
Pipe seal |  |
Evaporator connector |
 |
PTC seal |  |
Blower motor |  |
Sub harness bracket |
 |
Sub harness |  |
O-ring |  |
Evaporator |
 |
Front case lower |  |
Pipe cover | ||
 |
:Clip | ||||
 |
:Metal clip | ||||
 |
:Always replace after every disassembly. | ||||
|
:N•m (kg-m, in-lb) | ||||
- A/c Unit Assembly
- Evaporator
- Inner Condenser
A/c Unit Assembly Nissan Ariya: FE0
Removal & Installation
DANGER: Since hybrid vehicles and electric vehicles contain a high voltage battery, there is the risk of electric shock, electric leakage, or similar accidents if the high voltage component and Nissan Ariya vehicle are handled incorrectly. Be sure to follow the correct work procedures when performing inspection and maintenance.
REMOVAL
Follow the instructions below before starting the procedure.
Use a refrigerant collecting equipment (for HFO-1234yf) to discharge the refrigerant. Refer to Recycle Refrigerant.
Remove A/C unit assembly cover. Refer to Removal & Installation.
Remove A/C unit assembly mounting nuts, and then remove A/C unit assembly from Nissan Ariya vehicle.
INSTALLATION
Note the following items, and then install in the reverse order of removal.
Evaporator Nissan Ariya 2026
Removal & Installation
REMOVAL
Remove blower case assembly and PTC heater harness from A/C unit case assembly referring to PTC heater removal procedure 1 to 4. Refer to Removal & Installation.
Remove inner condenser. Refer to Removal & Installation.
Disconnect intake sensor harness connector.
Remove intake sensor harness connector from front case upper.
Disengage sub harness fixing clip  .
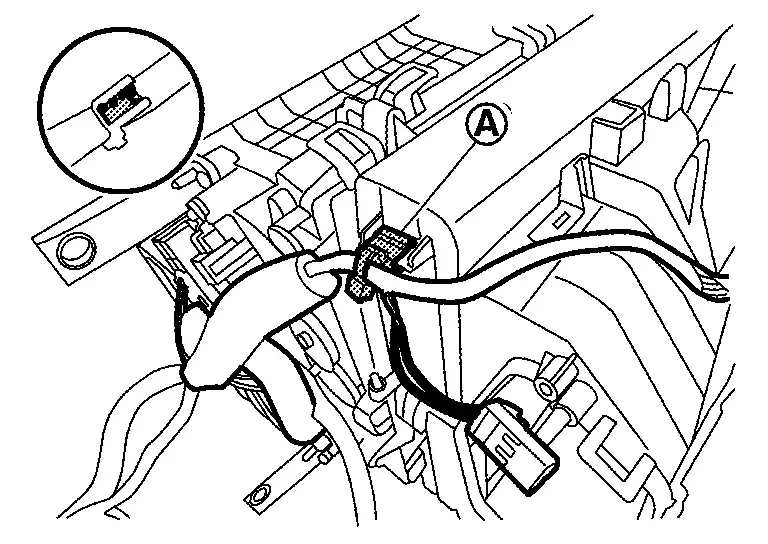
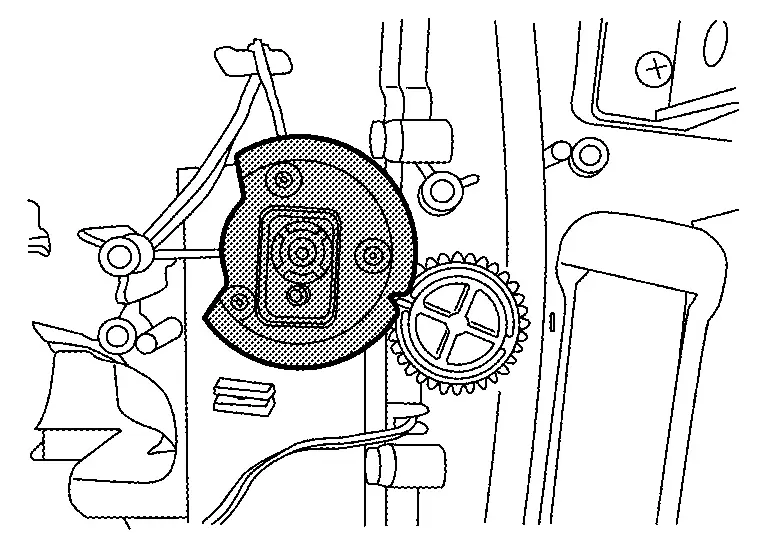
Remove air mix door motor (driver side). Refer to Removal & Installation.
Remove air mix door gear link (driver side).
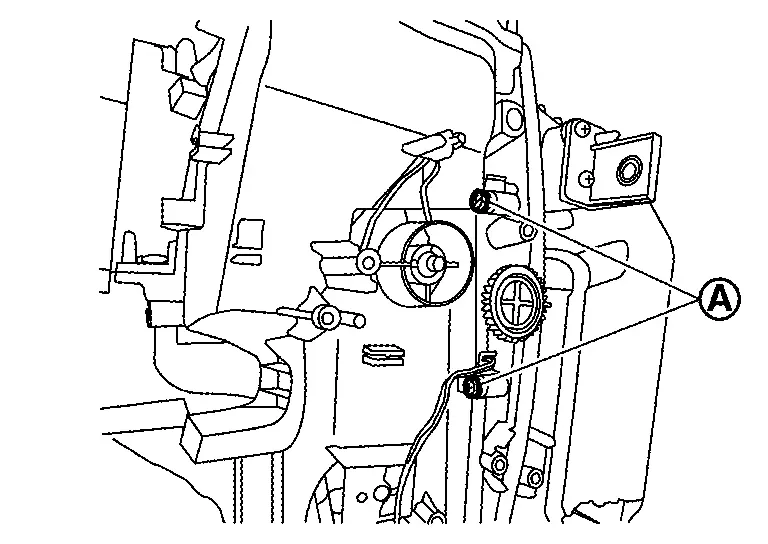
Remove right side fixing screws of front case.
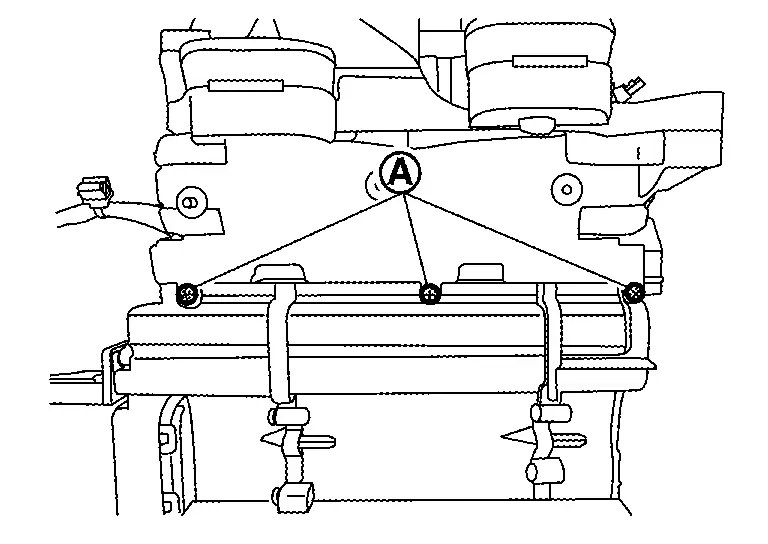
Remove lower side fixing screws of front case.
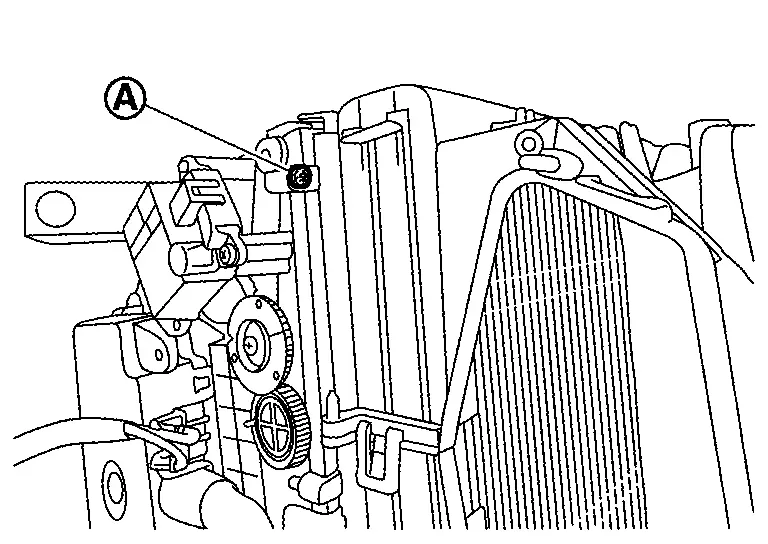
Remove upper side fixing screw of front case.
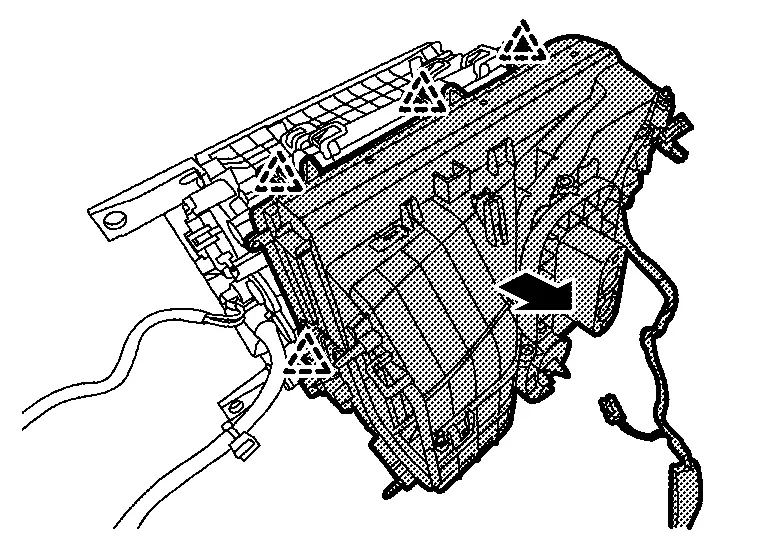
Disengage fixing pawls, and then remove front case.
 |
: Pawl |
Remove front case upper fixing screws .
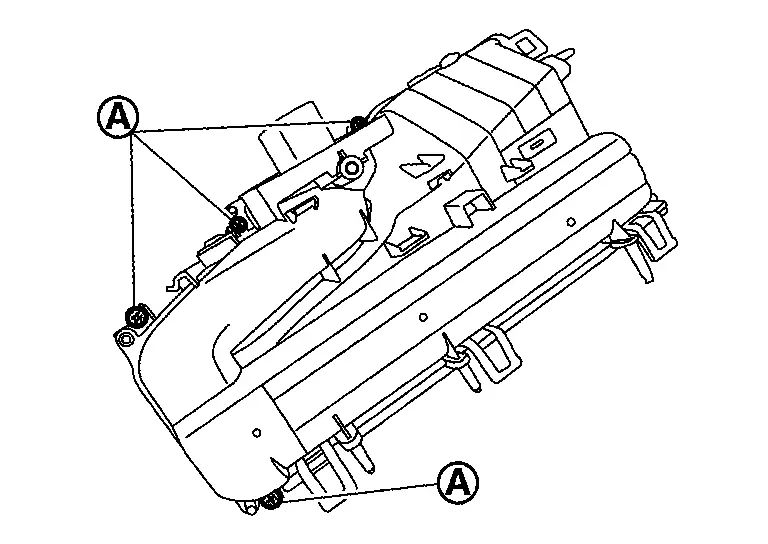
Disengage fixing pawls, and then remove front case upper.
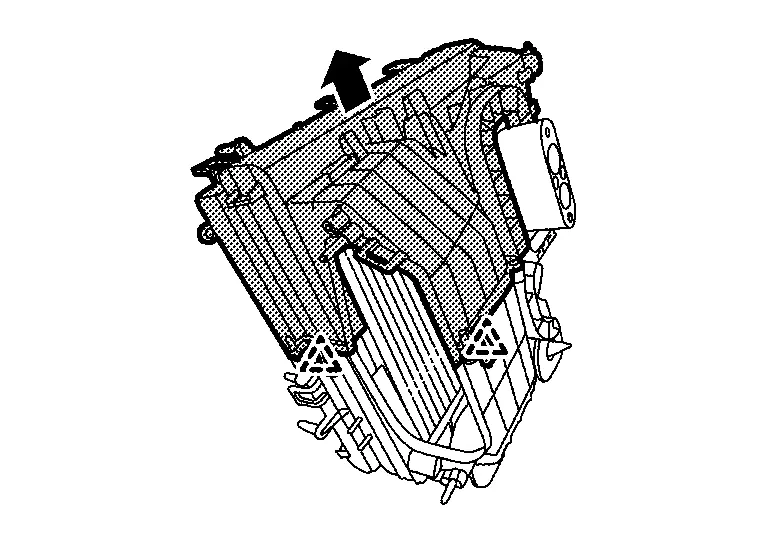
|
: Pawl |
Pull out evaporator from front case lower and remove it.
INSTALLATION
Note the following items, and then install in the reverse order of removal.
Inner Condenser Nissan Ariya first Gen
Removal & Installation
REMOVAL
Remove A/C unit assembly. Refer to Removal & Installation.
Disconnect compressor discharge refrigerant temperature sensor harness connector and inner condenser discharge refrigerant temperature sensor harness connector.
Remove harness connectors of compressor discharge refrigerant temperature sensor and inner condenser discharge refrigerant temperature sensor from front case upper.
Remove pipe seal.
Remove fixing screws , and then remove pipe cover.
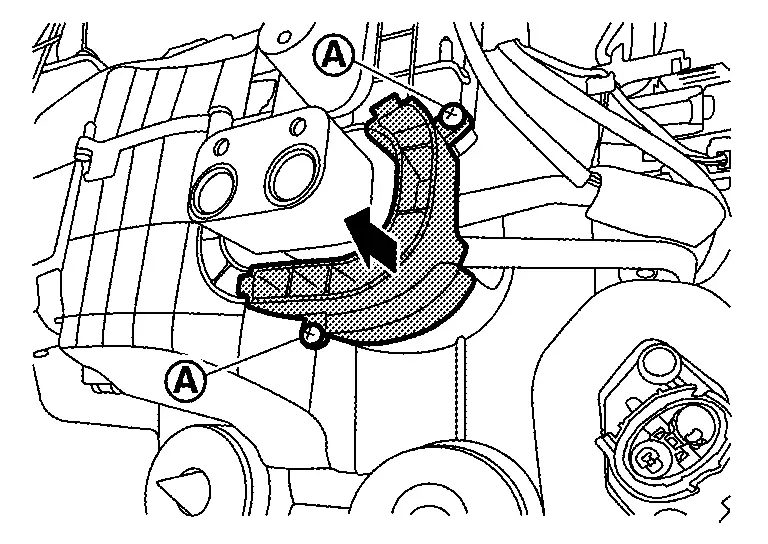
Remove fixing screws , and then remove bracket.
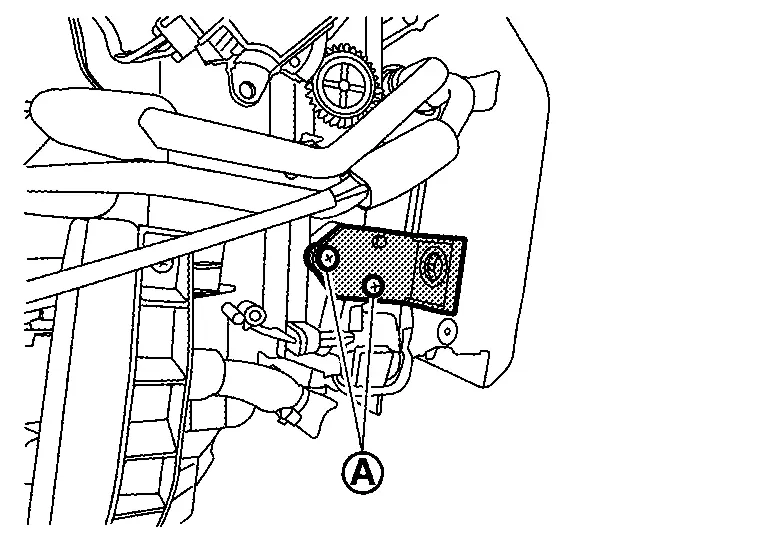
Pull out inner condenser from rear case and remove it.
INSTALLATION
Note the following items, and then install in the reverse order of removal.