License Plate Light Assembly
Removal
REMOVAL
HINT:
- Use the same procedure for the RH side and LH side.
- The following procedure is for the LH side.
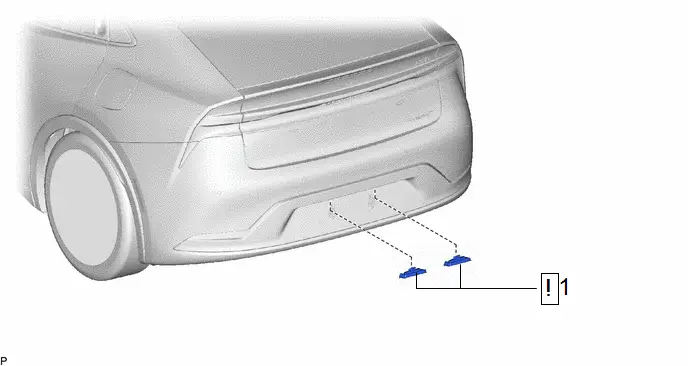
Procedure | Part Name Code |  |  |  |
|
|---|---|---|---|---|---|
1 |
LICENSE PLATE LIGHT SUB-ASSEMBLY |
81204A |
 |
- |
- |
PROCEDURE
1. REMOVE LICENSE PLATE LIGHT SUB-ASSEMBLY
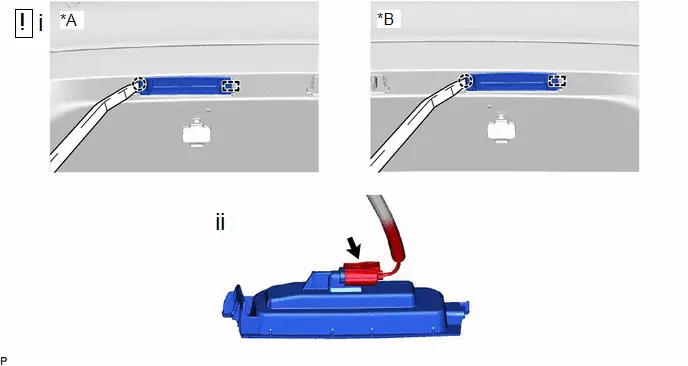
*A |
for LH Side |
*B |
for RH Side |
(1) Using a moulding remover, disengage the claw and guide as shown in the illustration.
(2) Disconnect the connector to remove the license plate light sub-assembly.
Inspection
INSPECTION
PROCEDURE
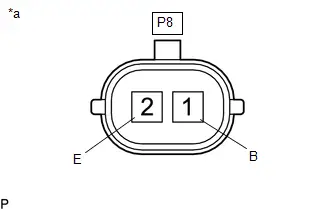
1. INSPECT LICENSE PLATE LIGHT SUB-ASSEMBLY (for LH Side)
(a) Illumination Inspection
(1) Apply auxiliary battery voltage to the license plate light sub-assembly and check that the light comes on. OK:  Click Location & Routing(P8) Click Connector(P8)
If the result is not as specified, replace the license plate light sub-assembly. |
|
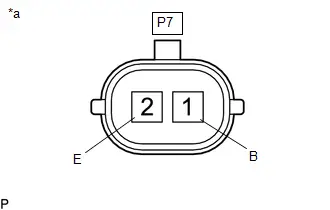
2. INSPECT LICENSE PLATE LIGHT SUB-ASSEMBLY (for RH Side)
(a) Illumination Inspection
(1) Apply auxiliary battery voltage to the license plate light sub-assembly and check that the light comes on. OK:  Click Location & Routing(P7) Click Connector(P7)
If the result is not as specified, replace the license plate light sub-assembly. |
|
Installation
INSTALLATION
HINT:
- Use the same procedure for the RH side and LH side.
- The following procedure is for the LH side.
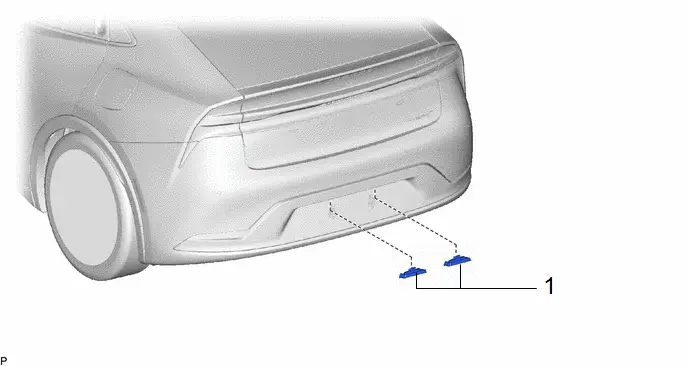
Procedure | Part Name Code |  |  |  |
|
|---|---|---|---|---|---|
1 |
LICENSE PLATE LIGHT SUB-ASSEMBLY |
81204A |
- |
- |
- |
PROCEDURE
1. INSTALL LICENSE PLATE LIGHT SUB-ASSEMBLY