Seat Heater Control
Removal
REMOVAL
The necessary procedures (adjustment, calibration, initialization, or registration) that must be performed after parts are removed and installed, or replaced during seat heater control sub-assembly removal/installation are shown below.
Necessary Procedures After Parts Removed/Installed/ReplacedReplaced Part or Performed Procedure | Necessary Procedure | Effect/Inoperative Function when Necessary Procedure not Performed | Link |
|---|---|---|---|
| *: Even when not replacing the part, it is necessary to perform the specified necessary procedures after installation. | |||
w/ Occupant Classification System:
|
Zero point calibration (Occupant classification system) |
|
 |
CAUTION:
Wear protective gloves. Sharp areas on the parts may injure your hands.
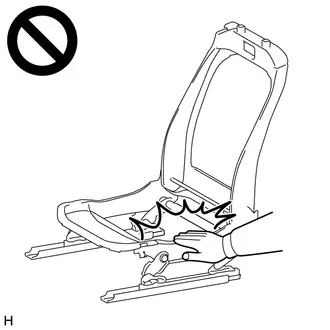
HINT:
When the cable is disconnected / reconnected to the auxiliary battery terminal, systems temporarily stop operating. However, each system has a function that completes learning the first time the system is used.
- Learning completes when Toyota Prius vehicle is driven
Effect/Inoperative Function when Necessary Procedure not Performed
Necessary Procedure
Link
Front Camera System
Drive the Toyota Prius vehicle straight ahead at 35 km/h or more for 5 seconds or more.

- Learning completes when vehicle is operated normally
Effect/Inoperative Function when Necessary Procedure not Performed
Necessary Procedure
Link
*1: w/o Power Back Door System *2: w/ Power Back Door System
Power Door Lock Control System*1
- Back door opener
Perform door unlock operation with door control switch or electrical key transmitter sub-assembly switch.

Power Back Door System*2
Reset back door close position

Air Conditioning System
for HEV Model: - After the ignition switch is turned to ON, the servo motor standard position is recognized.
- After the ignition switch is turned to ON, the servo motor and expansion valve standard position is recognized.
-
HINT:
- Use the same procedure for the RH side and LH side.
- The following procedure is for the LH side.
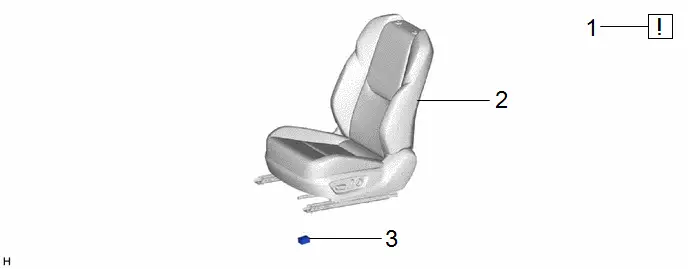
Procedure | Part Name Code |  |  |  |
|
|---|---|---|---|---|---|
1 |
PRECAUTION |
- |
 |
- |
- |
2 |
FRONT SEAT ASSEMBLY |
- |
- |
- |
- |
3 |
SEAT HEATER CONTROL SUB-ASSEMBLY |
87501B |
- |
- |
- |
PROCEDURE
1. PRECAUTION
 |
NOTICE: After the ignition switch is turned off, there may be a waiting time before disconnecting the negative (-) auxiliary battery terminal. Click here |

2. REMOVE FRONT SEAT ASSEMBLY
for Manual Seat: Click here 
for Power Seat: Click here 
3. REMOVE SEAT HEATER CONTROL SUB-ASSEMBLY
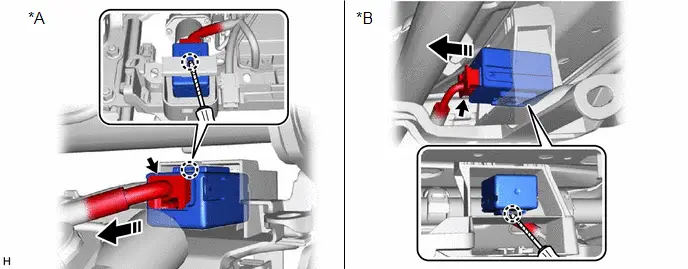
*A |
for Power Seat |
*B |
for Manual Seat |
 |
Protective Tape |
 |
Remove in this Direction |
Installation
INSTALLATION
CAUTION:
Wear protective gloves. Sharp areas on the parts may injure your hands.
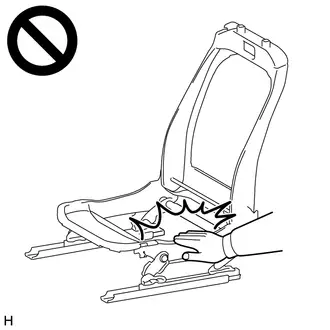
HINT:
- Use the same procedure for the RH side and LH side.
- The following procedure is for the LH side.
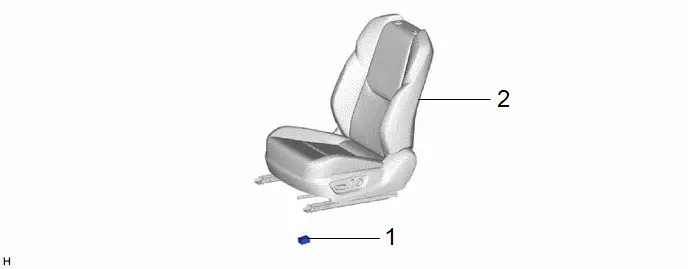
Procedure | Part Name Code |  |  |  |
|
|---|---|---|---|---|---|
1 |
SEAT HEATER CONTROL SUB-ASSEMBLY |
87501B |
- |
- |
- |
2 |
FRONT SEAT ASSEMBLY |
- |
- |
- |
- |
PROCEDURE
1. INSTALL SEAT HEATER CONTROL SUB-ASSEMBLY
2. INSTALL FRONT SEAT ASSEMBLY
for Manual Seat: Click here 
for Power Seat: Click here 