Personal Light
Removal
REMOVAL
COMPONENTS (REMOVAL)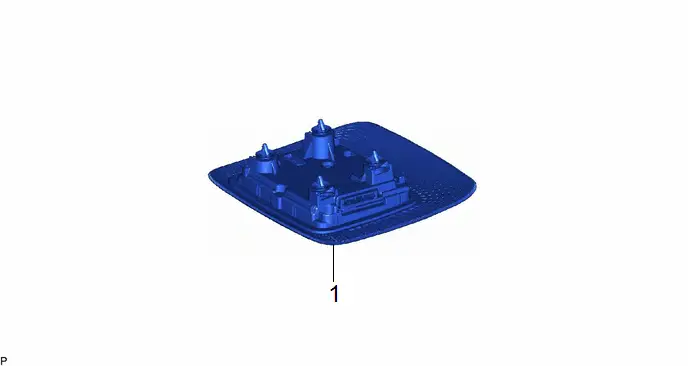
Procedure | Part Name Code |  |  |  |
|
|---|---|---|---|---|---|
1 |
MAP LIGHT ASSEMBLY |
81260A |
- |
- |
- |
PROCEDURE
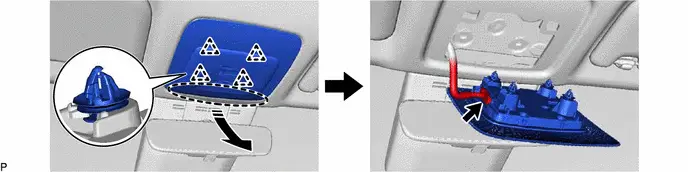
1. REMOVE MAP LIGHT ASSEMBLY
 |
Place Hand Here |
 |
Remove in this Direction |
Inspection
INSPECTION
PROCEDURE
1. INSPECT MAP LIGHT ASSEMBLY
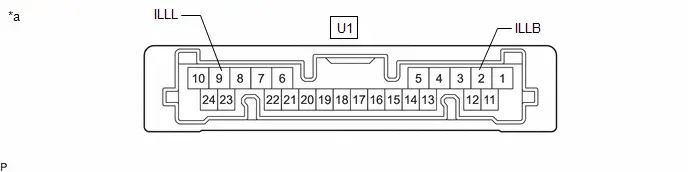
(a) Apply auxiliary battery voltage to the map light assembly and check that the lights illuminate.
*a |
Component without harness connected (Map Light Assembly) |
- |
- |
OK:
Switch Illumination Click Location & Routing(U1) Click Connector(U1)
Tester Connection | Condition | Specified Condition |
|---|---|---|
U1-2 (ILLB) - Auxiliary battery positive ( ) U1-9 (ILLL) - Auxiliary battery negative (-) |
Always |
Switch illumination illuminates |
If the result is not as specified, replace the map light assembly.
HINT:
The map light switch is a capacitive touch switch. Therefore, the illumination turns on or off each time the lens around the light emitting area is touched.
Installation
INSTALLATION
COMPONENTS (INSTALLATION)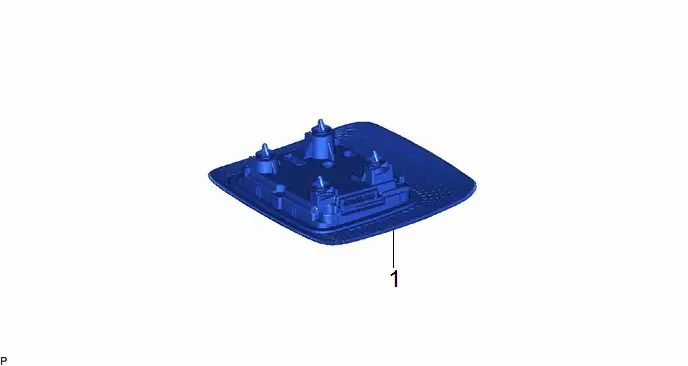
Procedure | Part Name Code |  |  |  |
|
|---|---|---|---|---|---|
1 |
MAP LIGHT ASSEMBLY |
81260A |
- |
- |
- |
PROCEDURE
1. INSTALL MAP LIGHT ASSEMBLY