Door check link
In this manual: Door check link
8steps
~48min
2/5difficulty
Done 0 of 8
DOOR CHECK LINK : Removal and Installation
REMOVAL
- Fully close the rear door window.
- Remove rear door finisher. Refer to INT-15, "Removal and Installation".
- Remove rear door speaker bolts (if equipped).
- Disconnect harness connector and remove rear door speaker (if equipped).
- Remove sealing screen (lower) if vehicle is not equipped with rear door speakers.
- Remove door check link bolts from body.
- Remove door check link bolts from door panel.
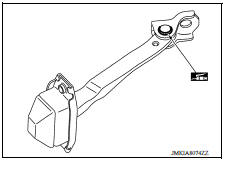
- Remove door check link (1) through the hole in rear door panel (2).

INSTALLATION
Installation is in the reverse order of removal.
CAUTION:
- After installation, check rear door open/close, lock/unlock operation.
- Check door check link rotating point for poor lubrication. If necessary, apply a suitable multi-purpose grease.
TRUNK LID
Exploded View
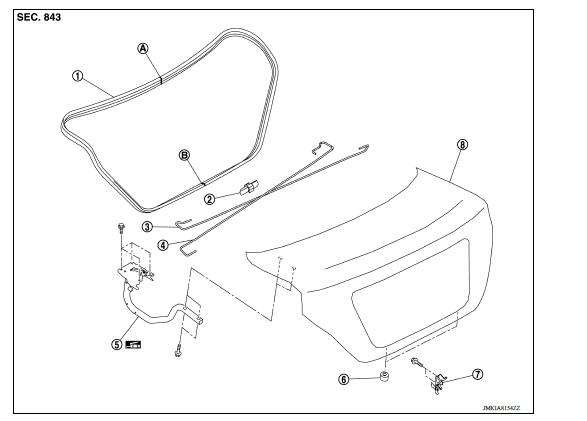
1. Trunk lid weatherstrip 2. Torsion bar clip 3. Torsion bar (RH) 4. Torsion bar (LH) 5. Trunk lid hinge (LH) 6. Bumper rubber 7. Trunk lid striker 8. Trunk lid assembly A Center mark B Seam
Was this page helpful?