Evaporator Core Removal and Installation
In this manual: Evaporator Core Removal and Installation
5steps
~30min
2/5difficulty
Done 0 of 5
Removal and Installation
NOTICE
Vehicles equipped with R-744 or R-1234yf refrigerant system evaporator(s) shall include in their service manual that only new and SAE J2842 certified evaporator(s) shall be used as replacement parts.
NOTE: Be careful not to damage the evaporator core.
1. Expansion Valve - Remove
2. Blower Unit - Remove
3. Passenger's Side Center Console Side Cover - Remove
4. Rear Mode Control Motor - Remove
5. Evaporator Core Cover- Remove
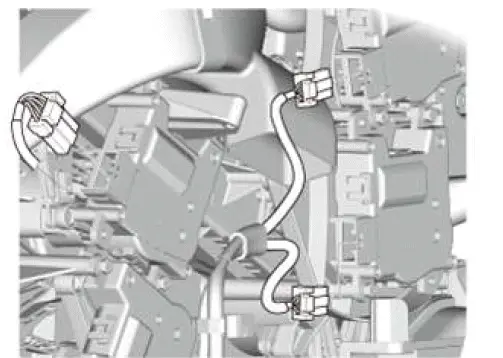
- Disconnect the connectors.
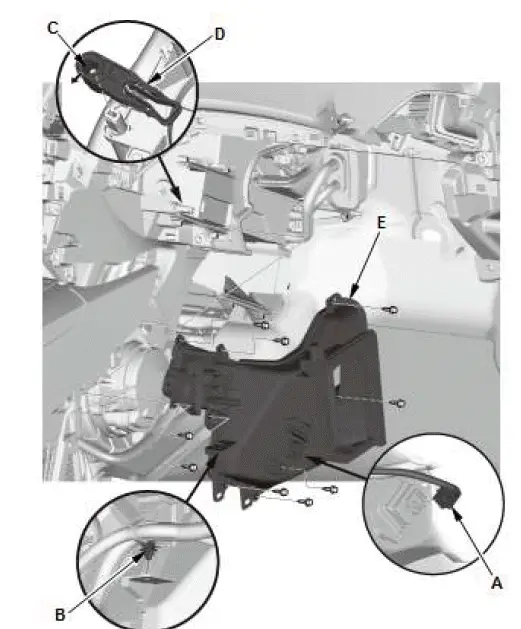
- Disconnect the connector (A).
- Remove the harness clip (B).
- Release the lock (C), then remove the lever (D).
- Remove the evaporator core cover (E).
6. Evaporator Core - Remove
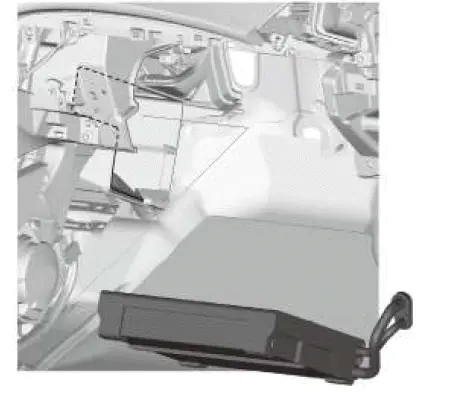
7. All Removed Parts - Install
- Install the parts in the reverse order of removal, and note these items:
- Replace the seal washer with new ones at each fitting, and apply a thin coat of refrigerant oil before installing them. Be sure to use the correct seal washer to avoid leakage.
- Charge the system with the specified amount of refrigerant.
- Make sure that there is no refrigerant leakage.
- Make sure that there is no air leakage.
Was this page helpful?