Rear Door Outer Handle Removal and Installation
In this manual: Rear Door Outer Handle Removal and Installation
10steps
~60min
3/5difficulty
Done 0 of 10
Removal/Installation
1. Rear Door Panel - Remove
2. Rear Door Pull Pocket Bracket - Remove
3. Rear Door Plastic Cover - Remove
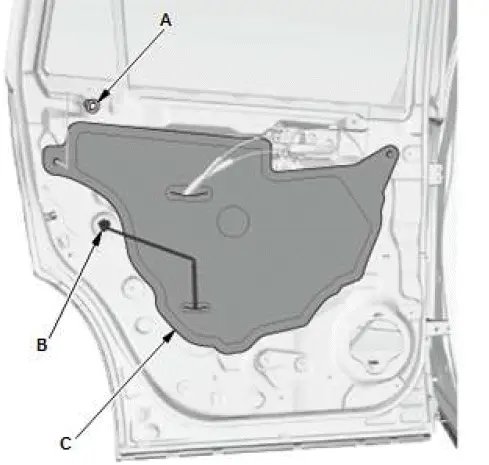
- Remove the plug cap (A).
- Disconnect the connector (B).
- Remove the rear door plastic cover (C) as needed.
NOTE: If the plastic cover is damaged or torn, replace it with a new one.
4. Rear Door Handle Base Cover - Remove
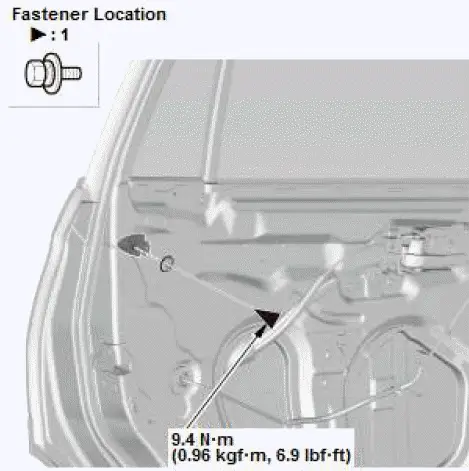
- Remove the bolt.
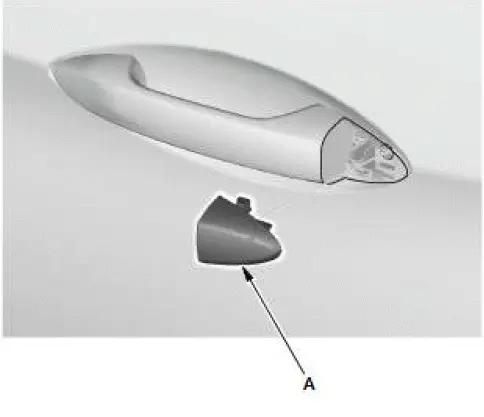
- Remove the rear door handle base cover (A).
5. Rear Door Panel Barrier B - Remove (For Some Models)

6. Rear Door Outer Handle - Remove
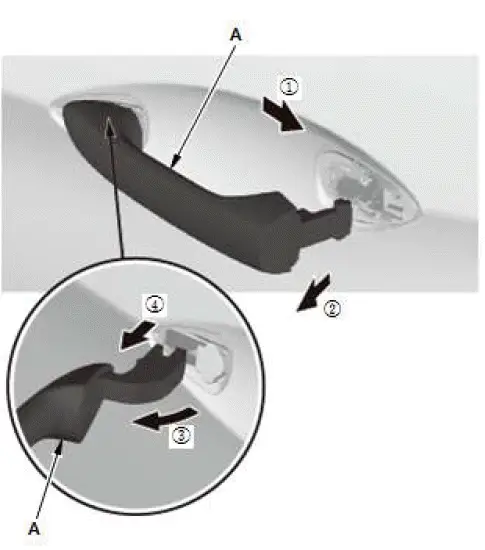
- Remove the rear door outer handle (A).
7. Rear Door Outer Handle Seals - Remove
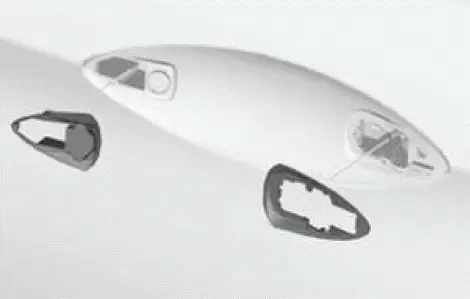
8. Rear Door Outer Handle Base - Remove
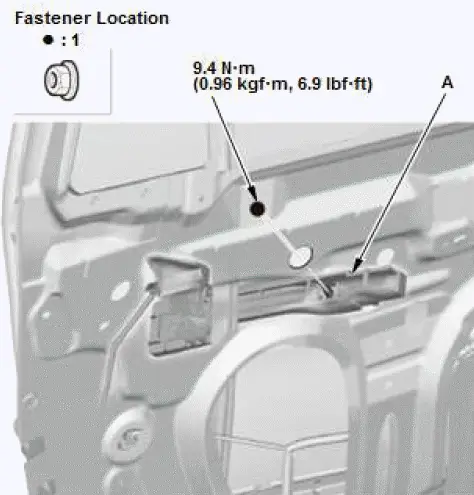
- Remove the nut, and then outer handle base (A).
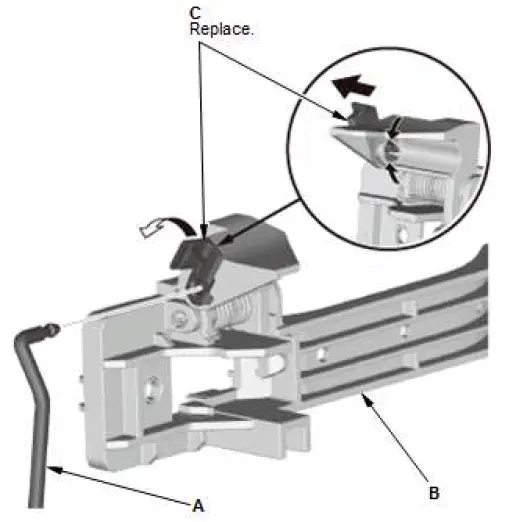
- Disconnect the outer handle rod (A) from the rear door outer handle base (B).
- Remove the rod fastener (C) from the outer handle base, and then replace it with a new one.
9. All Removed Parts - Install
- Install the parts in the reverse order of removal.
Rear Door Outer Molding Removal and Installation
Removal/Installation
1. Rear Door Outer Molding - Remove

- Pull away the rear door weatherstrip (A) and remove the clip.
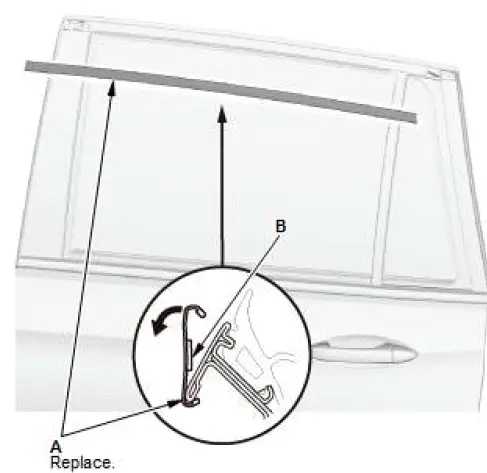
- Pull out the edge of the door outer molding (A) from the edge of the sash, and cut the double-sided adhesive tape (B) with a utility knife, and then remove the molding from the sash.
NOTE: Replace it with a new rear door outer molding.
Was this page helpful?