Front Door Checker Removal and Installation
In this manual: Front Door Checker Removal and Installation
6steps
~36min
2/5difficulty
Done 0 of 6
Removal and Installation
1. Front Door Panel - Remove
2. Front Door Plastic Cover - Remove
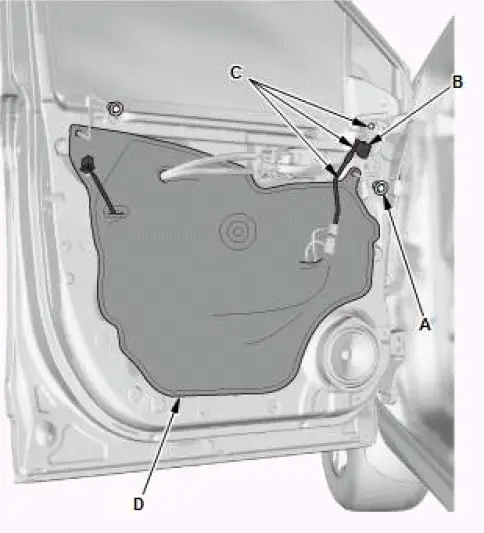
- Remove the plug cap (A).
- Disconnect the connector (B).
- Remove the harness clips (C).
- Remove the front door plastic cover (D) as needed.
NOTE: If the plastic cover is damaged or torn, replace it with a new one.
3. Front Door Panel Barrier A - Remove (For Some Models)
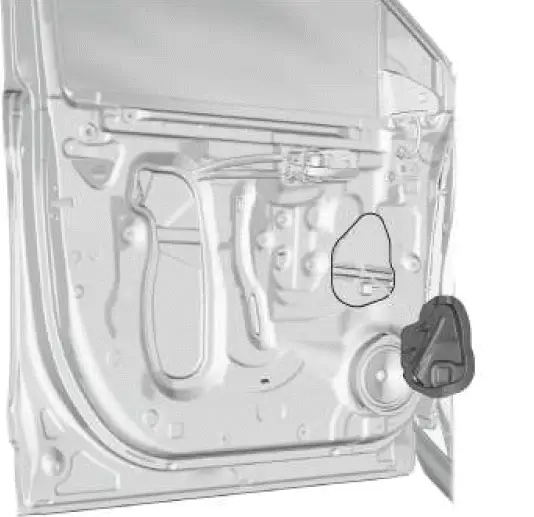
4. Front Door Checker - Remove
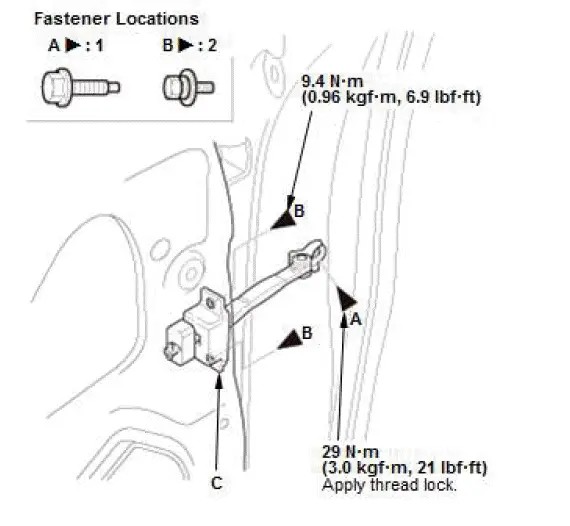
- While supporting the front door, remove the bolts (A, B).
- Remove the front door checker (C).
5. All Removed Parts - Install
- Install the parts in the reverse order of removal.
NOTE: Apply medium strength liquid thread lock to the door checker mounting bolt before installation.
Was this page helpful?