Under-Dash Fuse/Relay Box Removal and Installation
Removal/Installation
SRS components are located in this area. Review the SRS component locations and the precautions and procedures before doing repairs or service.
1. 12 Volt Battery Terminal - Disconnect
2. Under-Dash Fuse/Relay Box - Remove
- Disconnect the front side connectors (A).

- Remove the under-dash fuse/relay box (B).
- Remove the connectors (C).
- Disconnect the connectors (E).
- Carefully remove the relays using the relay puller tool.
NOTE: Do not use pliers. Pliers will damage the relays, which could cause the engine to stall or not start or cause other functions to fail.
3. All Removed Parts - Install
- Install the parts in the reverse order of removal.
NOTE: If the bolt threads of the steering hanger beam are stripped, replace the bolts with one-size larger bolts (available as a service part), which are specifically designed to tighten the instrument panel to the specified torque setting.
4. Keyless Access System - Register
NOTE: If the under-dash fuse/relay box is replaced, go to step 1. If the original under-dash fuse/relay box is installed, go to step 6.
- Connect the HDS to the data link connector (DLC).
- Turn the vehicle to the ON mode.
- Select ONE-PUSH START from the SYSTEM SELECTION MENU, then select REGISTRATION.
- Select the REPLACE MICU, then select the suitable menu from the HDS indications.
- After registration, confirm that the vehicle will start.
- Confirm that all systems work properly.
5. MICU - Update
Special Tool Required
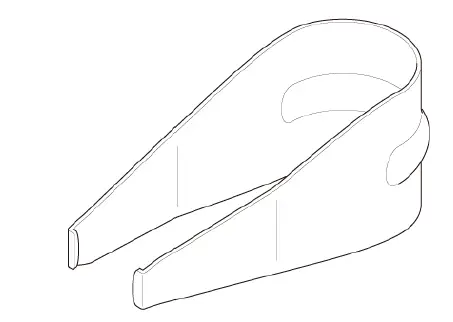
- Relay Puller 07AAC-000A2A1 or 07AAC-000A1A0