Front Seat Removal and Installation
In this manual: Front Seat Removal and Installation
3steps
~18min
2/5difficulty
Done 0 of 3
Removal/Installation
NOTE: SRS components are located in this area. Review the SRS component locations and the precautions and procedures before doing repairs or service.
1. 12 Volt Battery Terminal - Disconnect
NOTE: Wait at least 3 minutes before starting work.
2. Front Seat Belt Lower Anchor Connector - Remove (Passenger's Seat)
3. Front Seat Track End Covers - Remove
Front side

Rear side

4. Front Seat Mounting Bolts - Remove
Front side
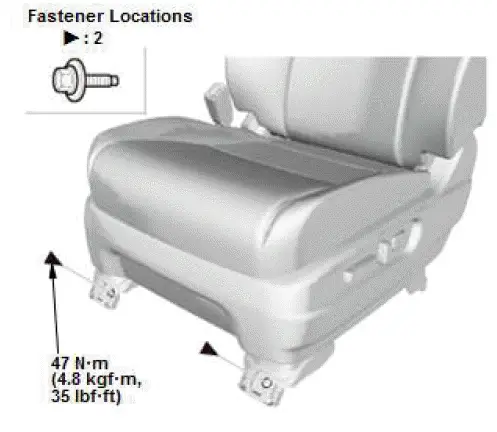
Rear side

5. Front Seat - Remove
Driver's seat

Passenger's seat
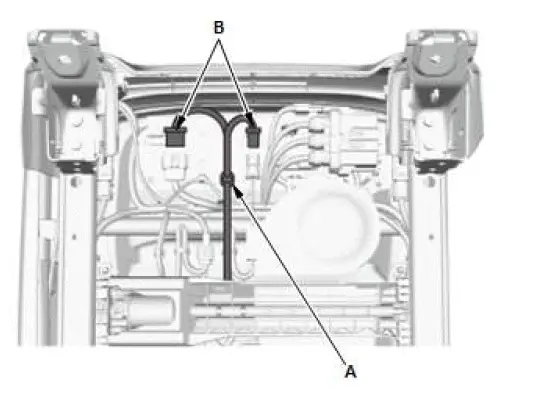
- From under the seat cushion, remove the harness clip (A).
- Disconnect the connectors (B).
- With the help of an assistant, carefully remove the front seat through the front door opening.
6. All Removed Parts - Install
- Install the parts in the reverse order of removal.
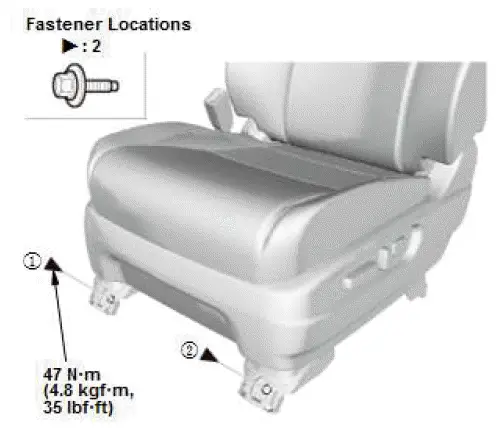
Front side
Rear side
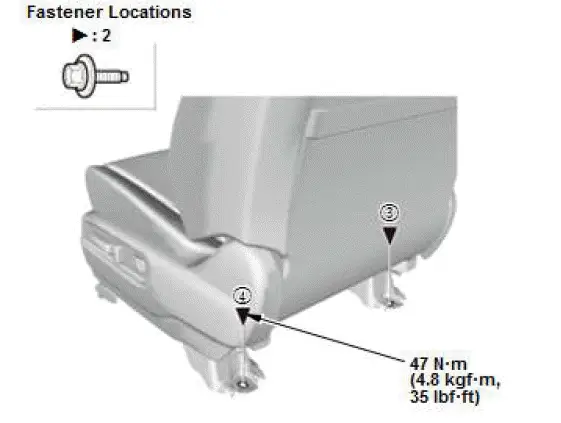
NOTE:
- Tighten the bolts by hand first, and then tighten them to the specified torque.
- Tighten the seat mounting bolts to the specified torque in the sequence shown. Slide the seat all the way back and tighten 1 and 2, and then slide it forward and tighten 3 and 4.
Was this page helpful?